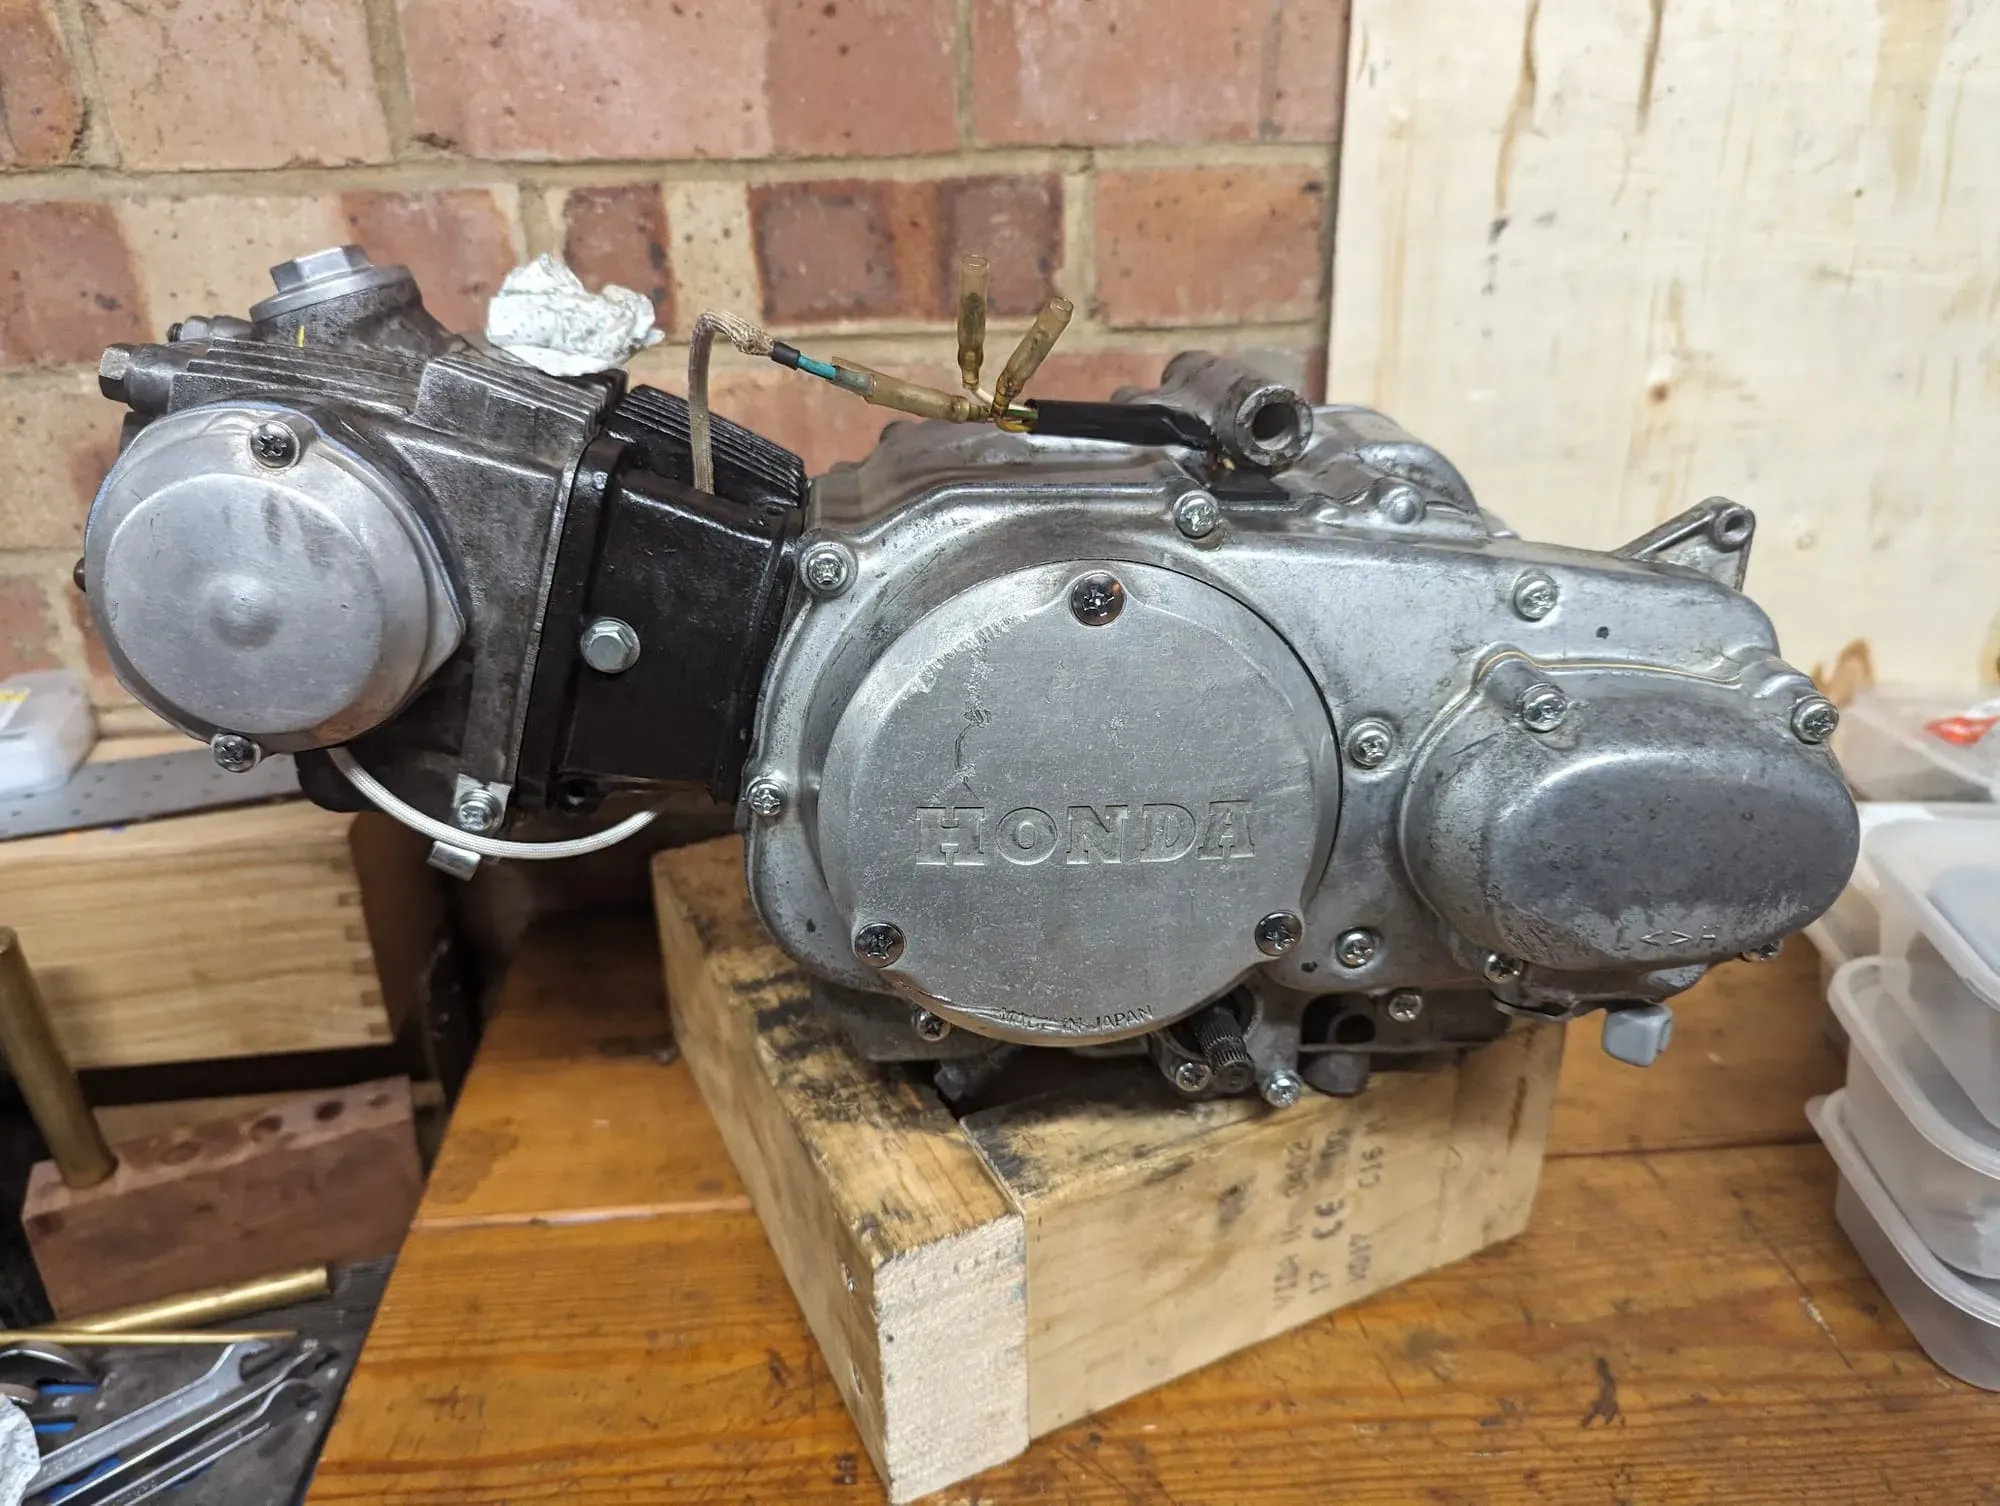
The engine in my 1969 CT90 K1 is not original and comes from an earlier (1968) bike, which created a useful opportunity to see how the engine evolved over time.
cam chain tensioner
Bikes from this era came with one of Honda's earliest attempt at a automatic cam chain tensioner (there were several other attempts after this one). The adjuster fitted in the 1968 engine is a modified version of the mechanism used in the 89cc overhead-cam engine when it was first released in 1964. The original design aimed was designed so it would automatically apply the correct tension on to the cam chain without the need for periodic adjustments:
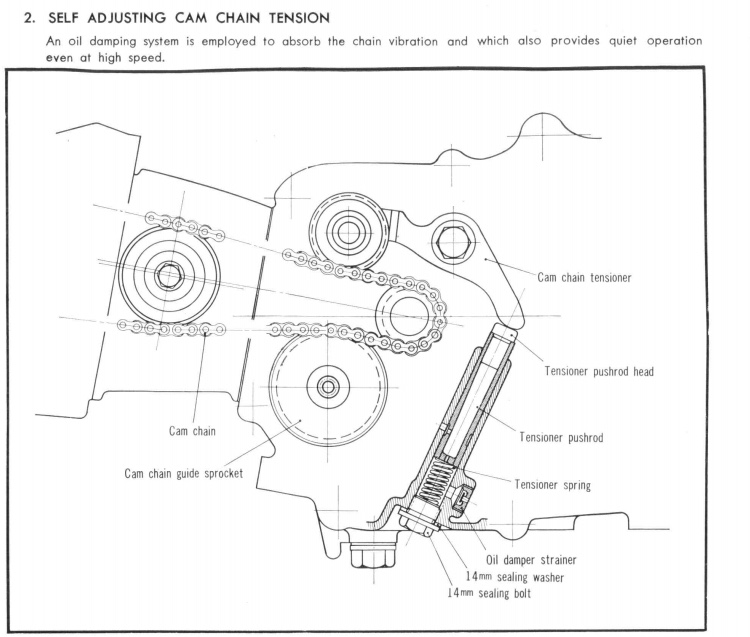

Honda C65 (the first overhead cam super cub)
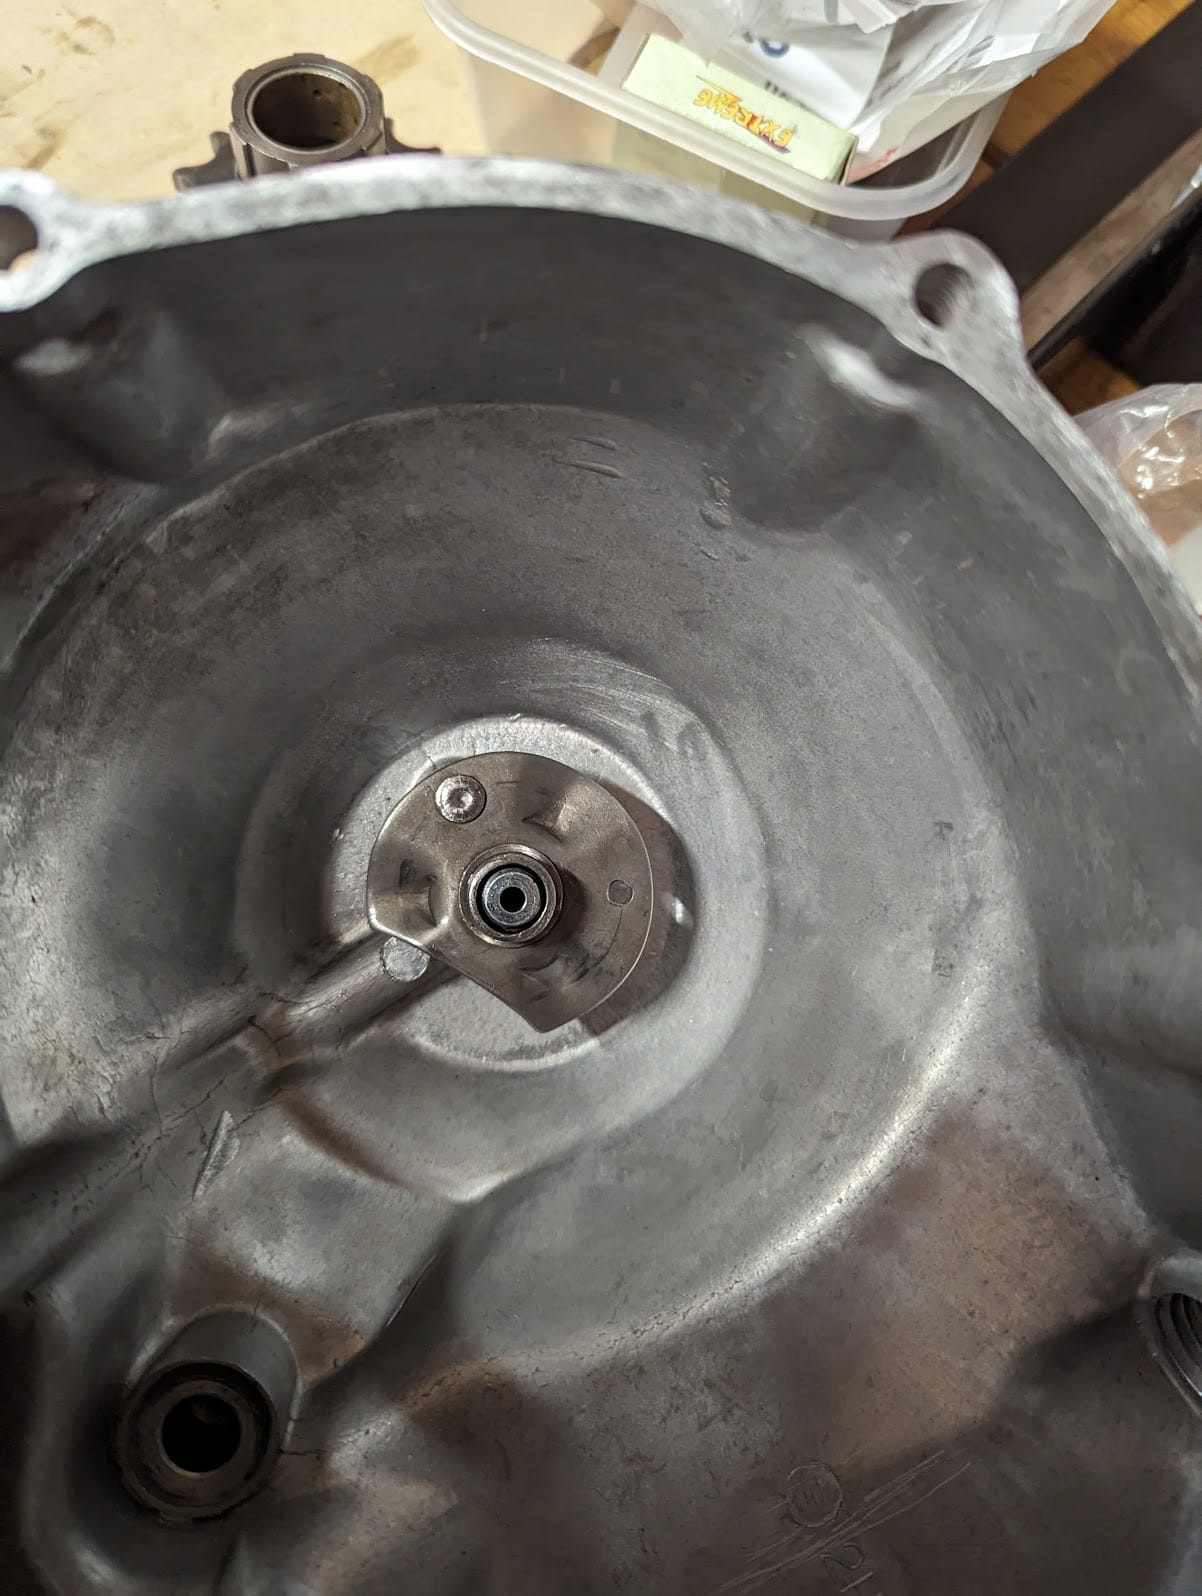
The idea is that the reciprocating motion of the pushrod draws in oil from the crankcase into the tensioner chamber and a check valve (labeled oil damper strainer above) stops it leaving so that the resulting oil pressure below the tensioner rod resists the downward movement. You can see the check-valve in my engine below
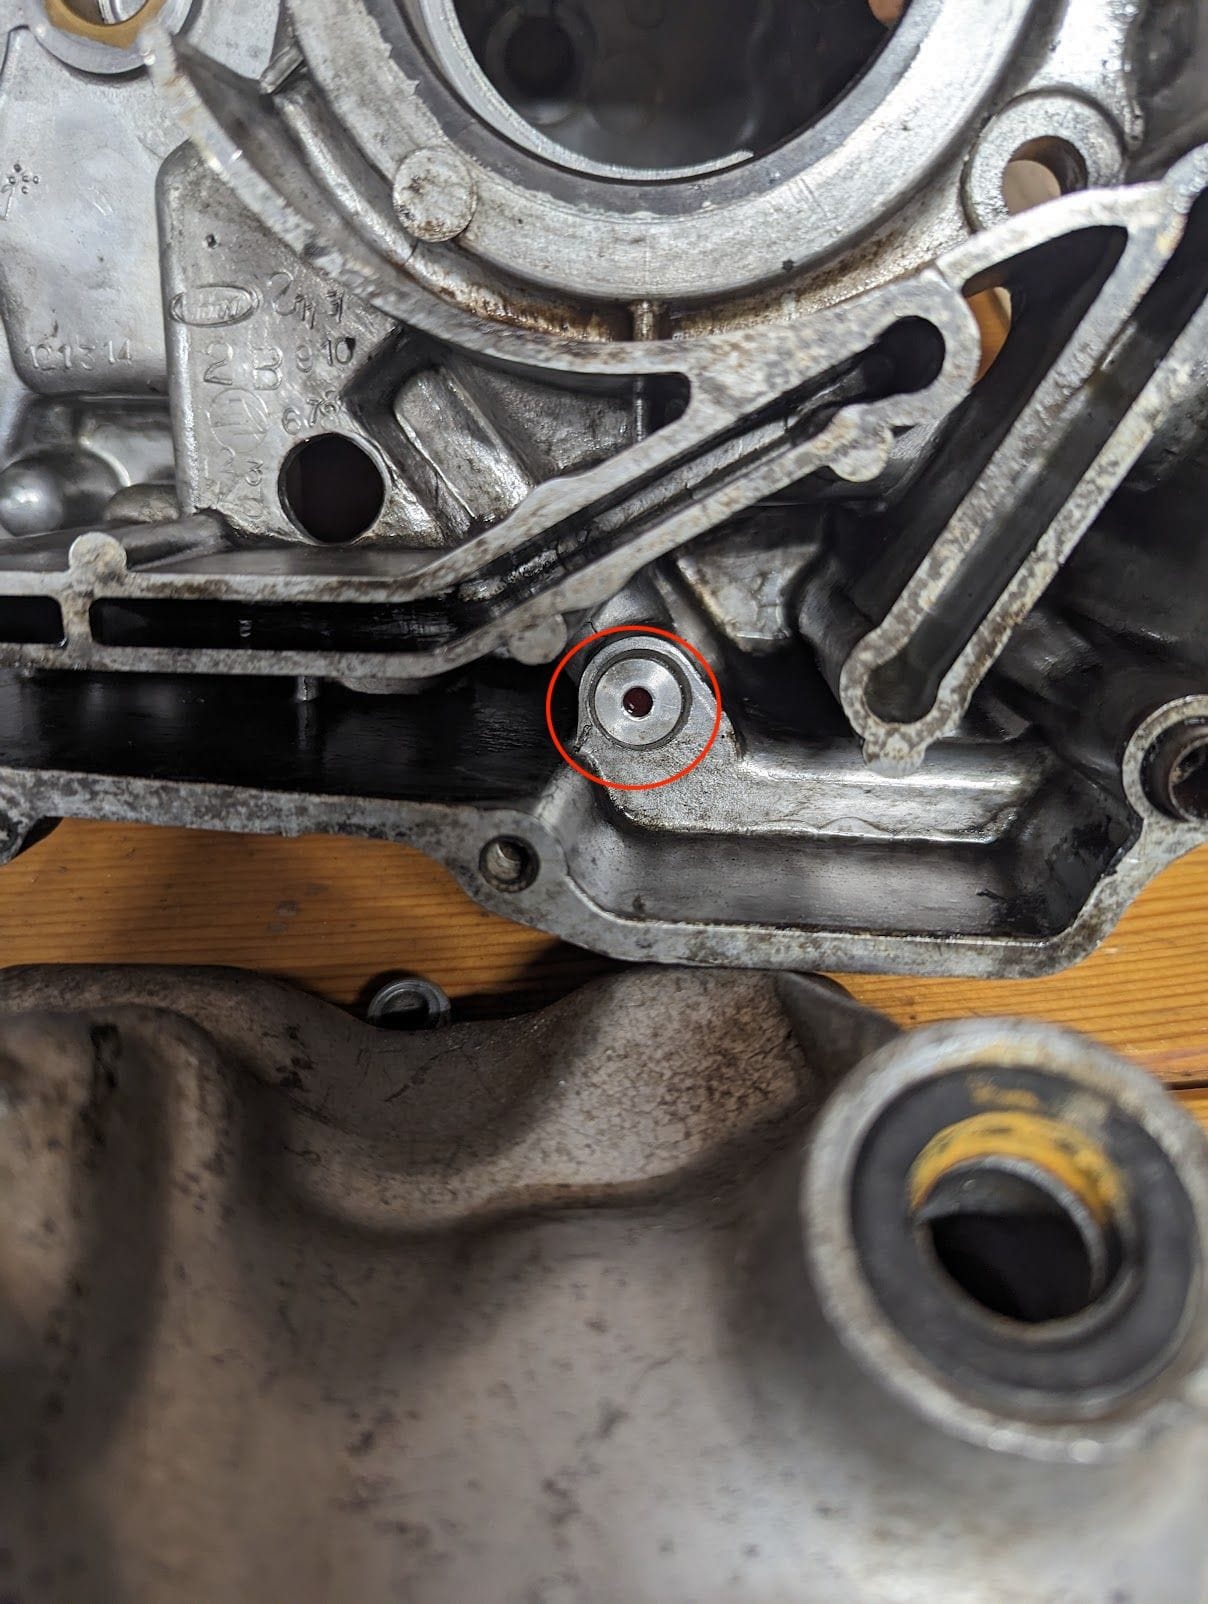
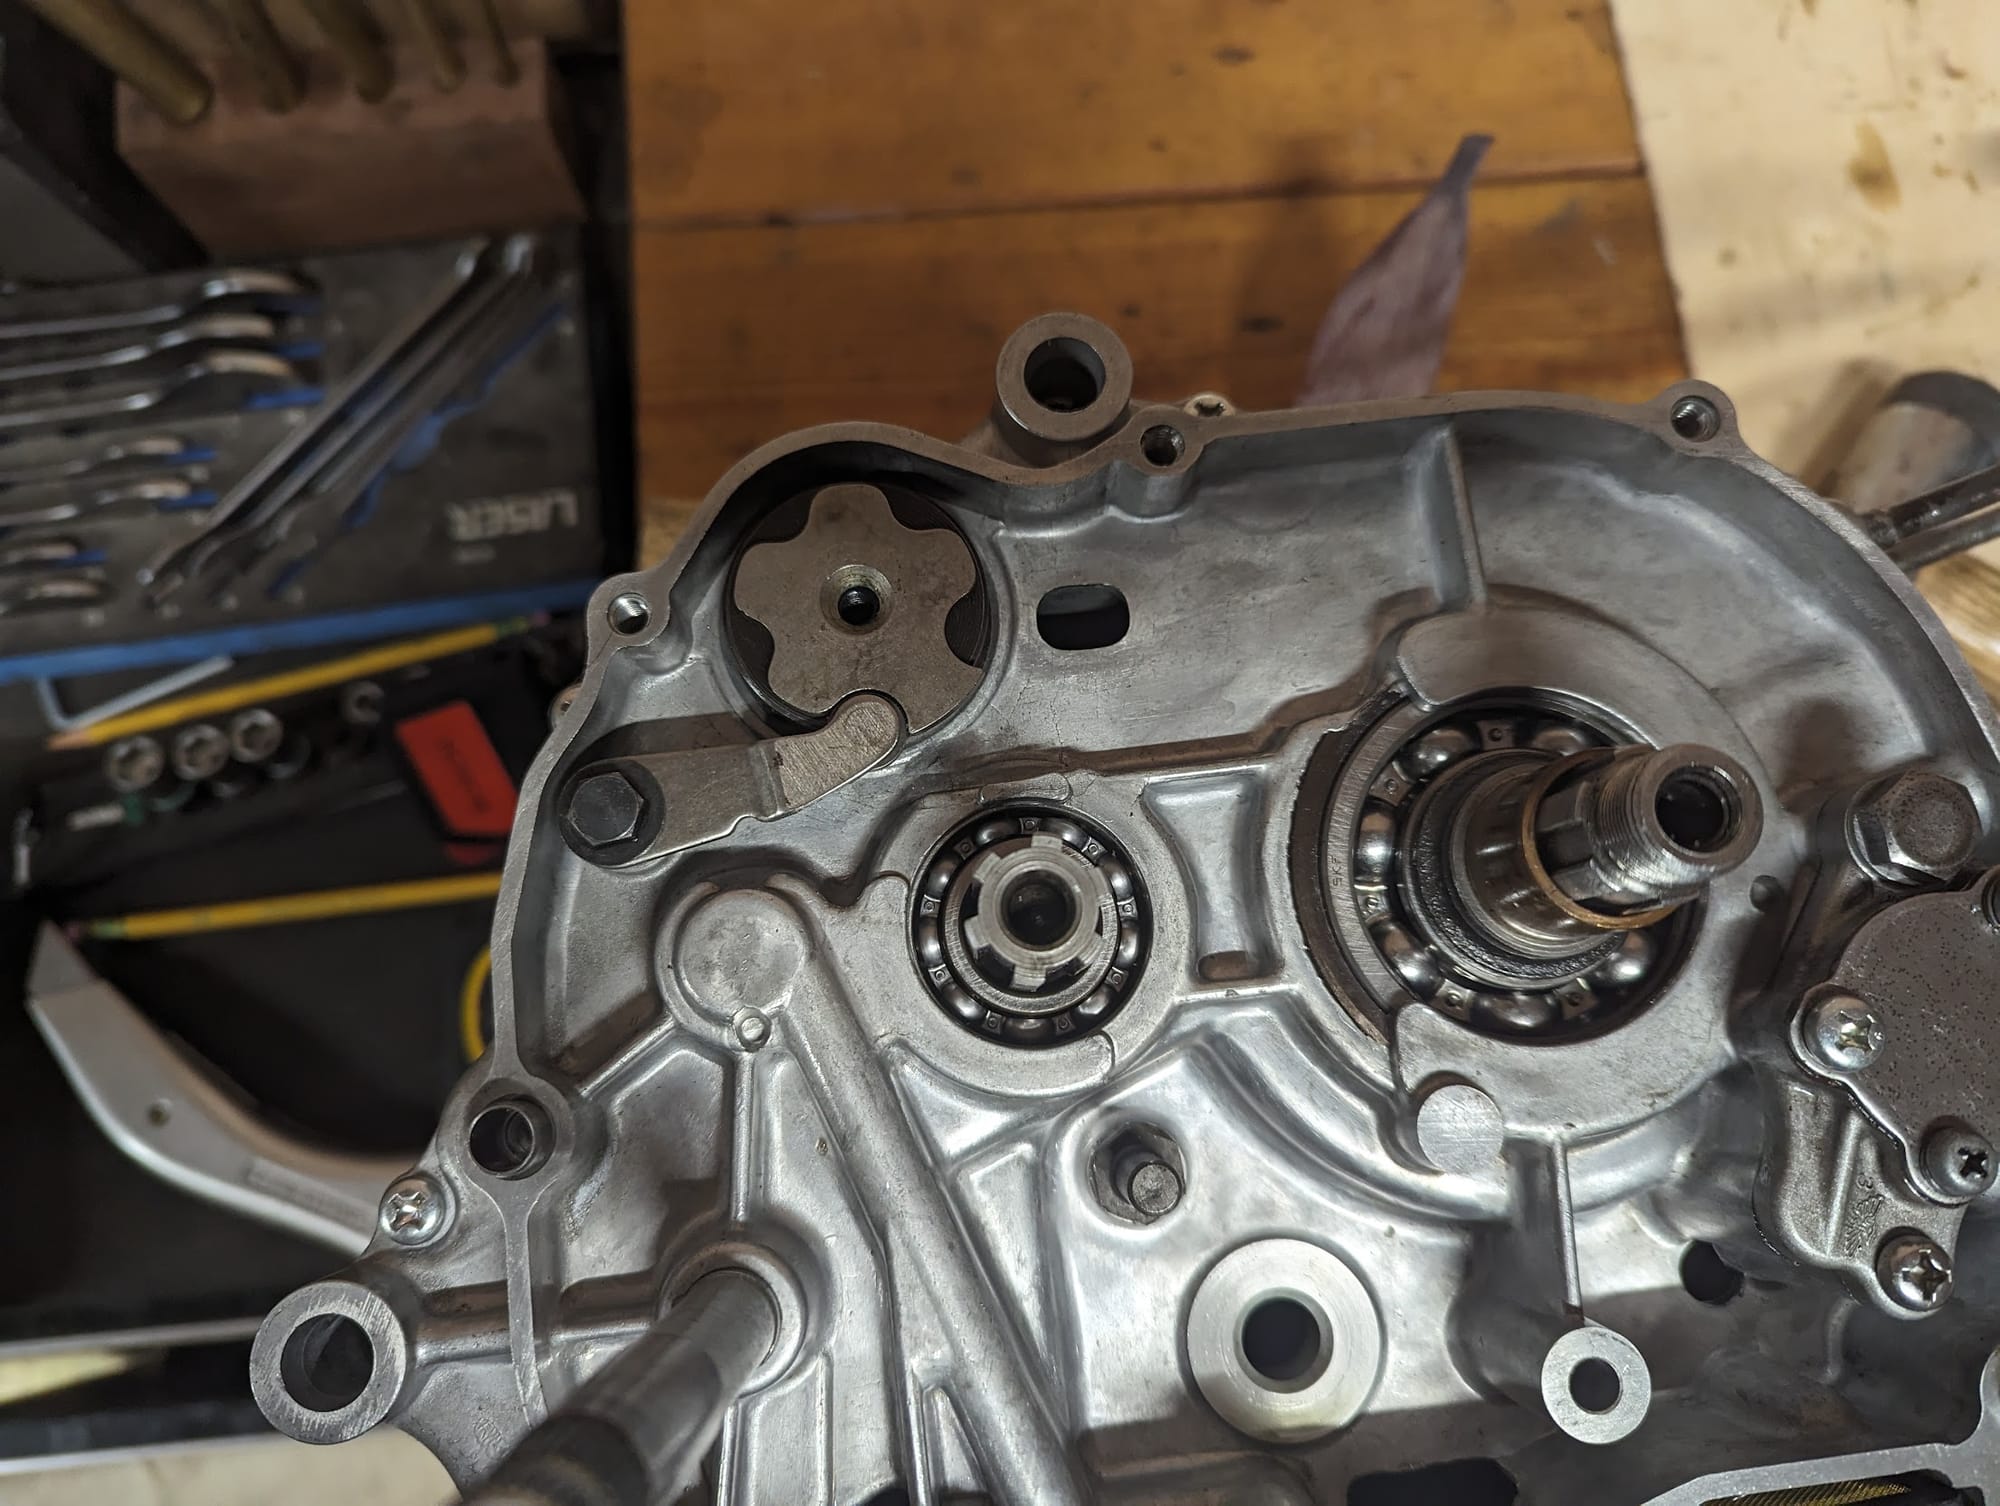
CM91 left hand crankcase from around 1966 (left) and a CT90 case from around 1967
Here are the tensioner parts used. Note the small hole in the base of the tensioner, which allows any air in the tensioner chamber escape as oil enters the chamber.


image from the CM91 shop manual (left), and pictures of the parts (middle and right)
It seems this solution did not work as well as intended and after a couple of years it was replaced with the simpler device described in the next section.
The later version fitted to my 1968 engine still aimed to use a combination of oil pressure and spring power to maintain tension automatically, but the vented rod was replaced by a shorter unvented version and a substantially larger spring.
Anyhow, neither of these solutions were very effective and were replaced by manually adjusted versions in the 1970s. The newer manually adjusted versions do fit the old engine (I used a version from a 1978 C90 in my engine), although the crankcase skid protector from the older bikes lack an access hole to reach the adjusting bolt.
Cam chain roller
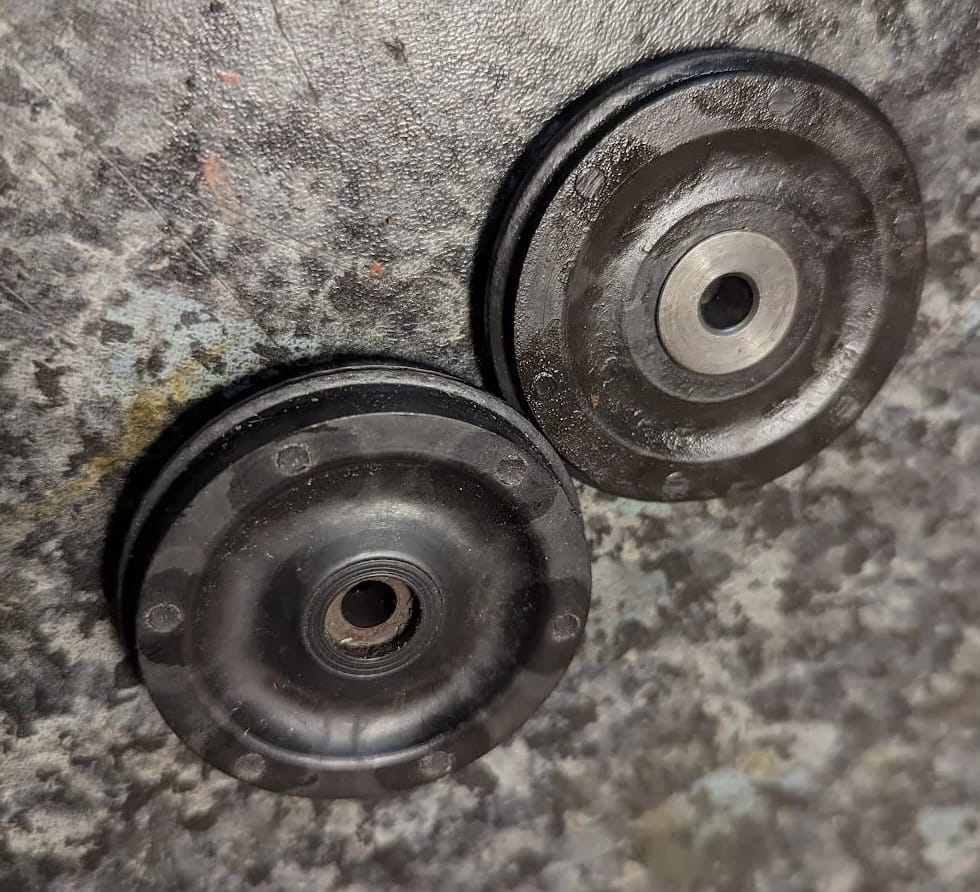
The original cam chain rollers were too narrow and it was possible for a loose came chain to slip off and become pinned between the roller and the edge of the cam chain tunnel. Honda subsequently solved this by fattening up the roller. You can see my original roller and the replacement below.
clutch
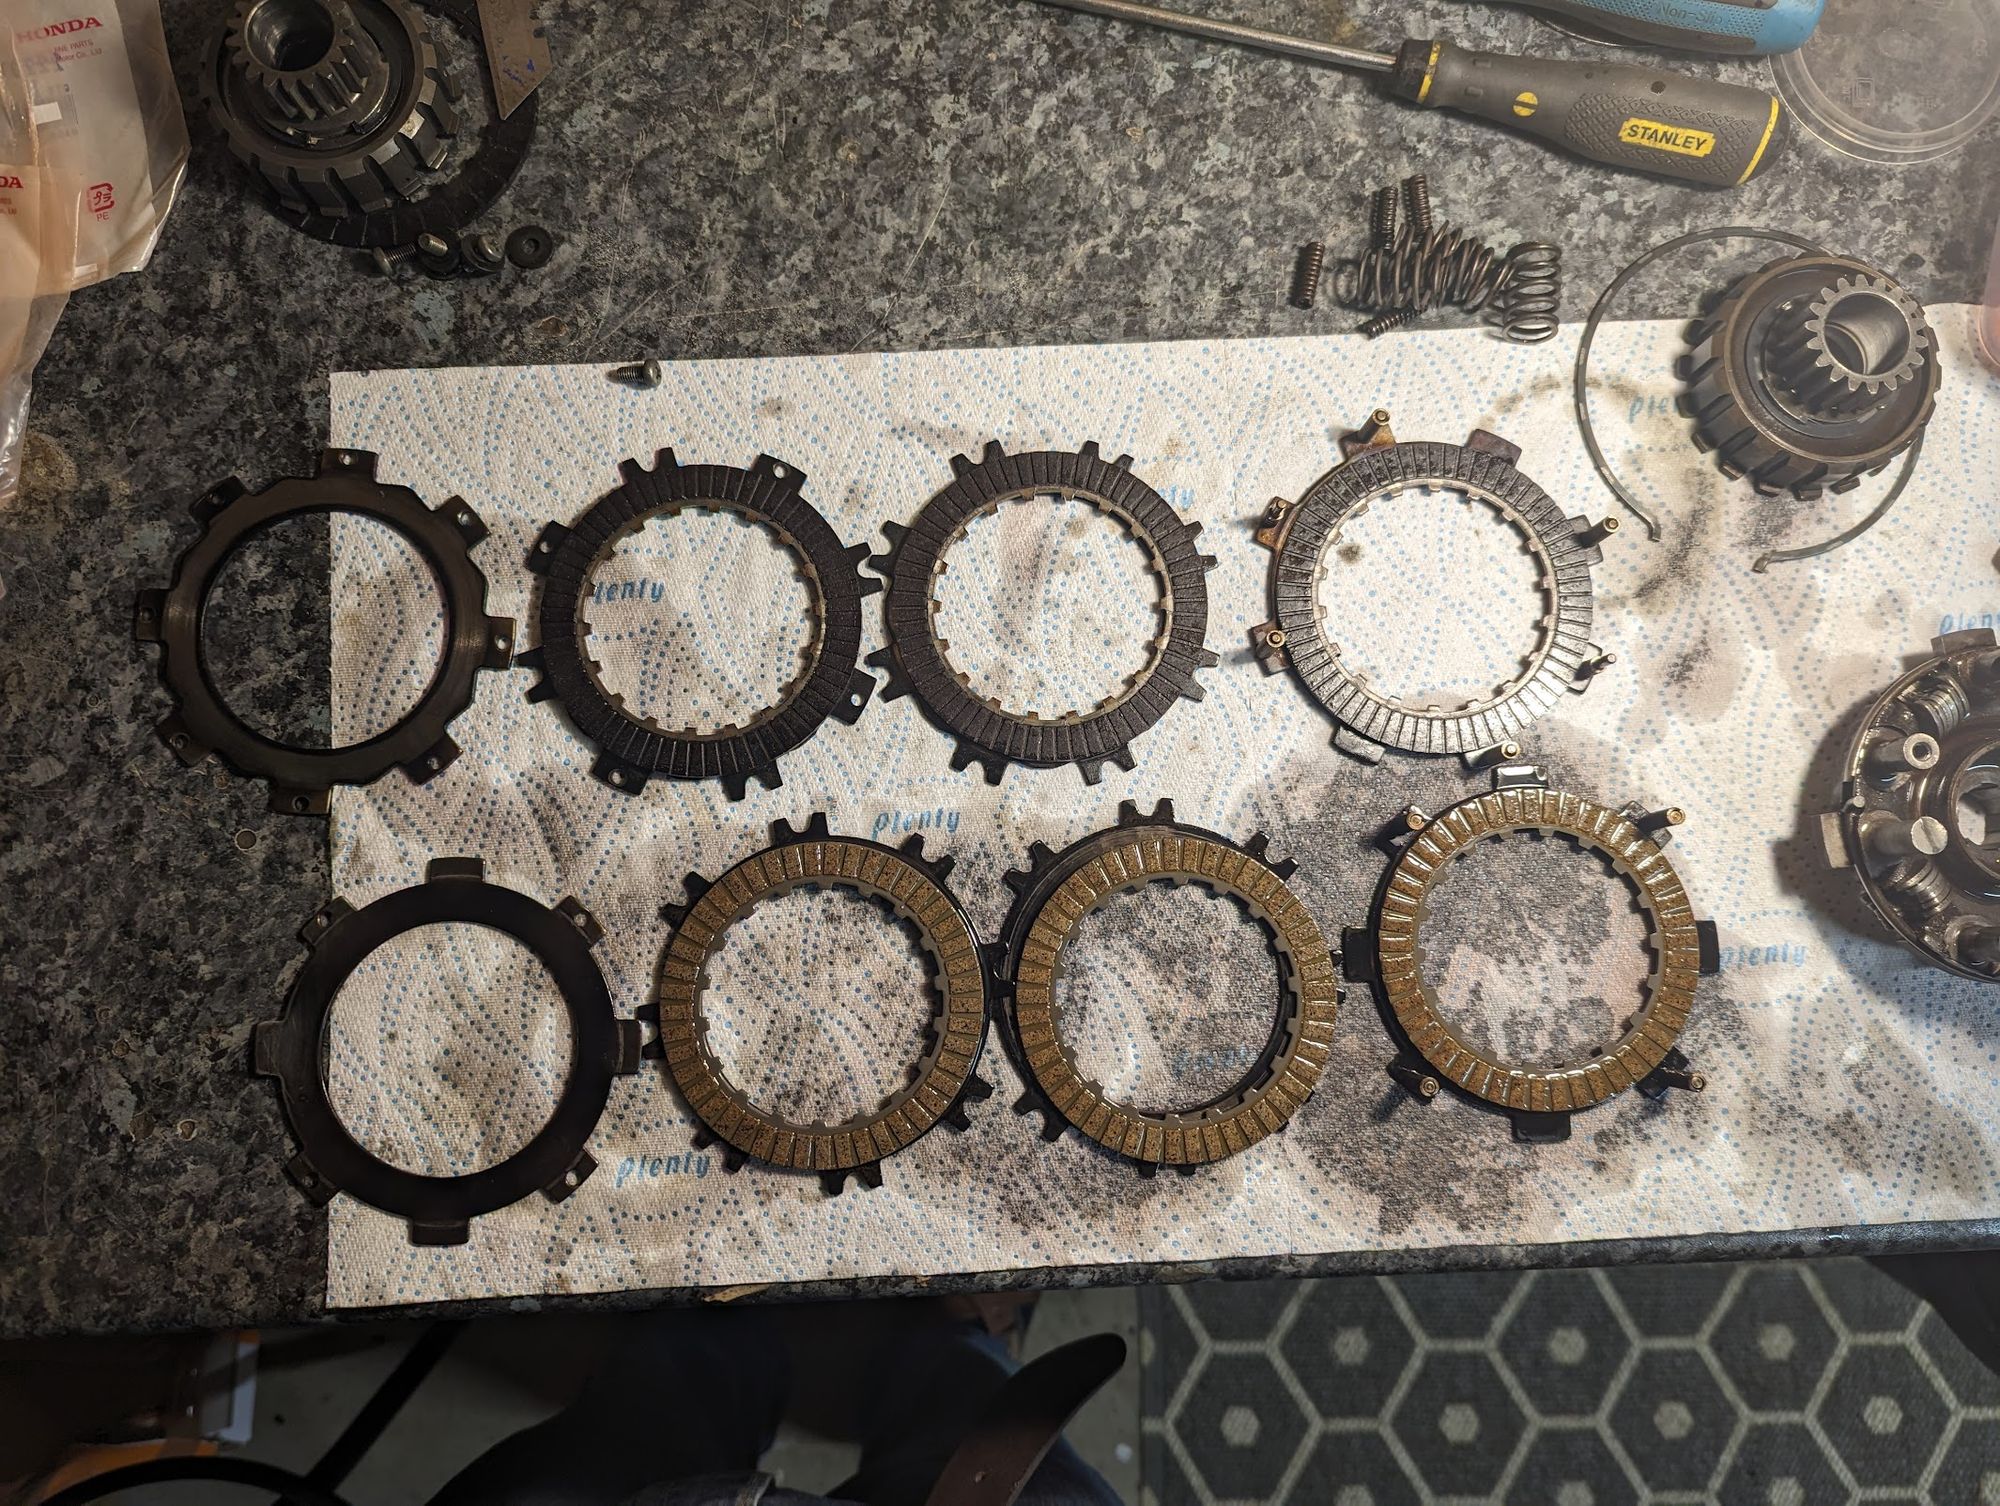
The Honda semi-automatic clutch is a technical marvel and you can read all about it here. The older version fitted on my engine has 4 clutch free springs rather than the 6 (2 short and 4 long) used on the later versions, a change which presumably reduces the tendency of the clutch to drag. Honda also improved the oil transfer to the clutch centre in the later models. Old and new clutches can be interchanged should you be so inclined.

I ended up using the good bits from two different clutches + some new friction plates:
Clutch adjustment bolt
I ordered a replacement clutch adjustment bolt as the original was damaged, and the replacement didn't look right:
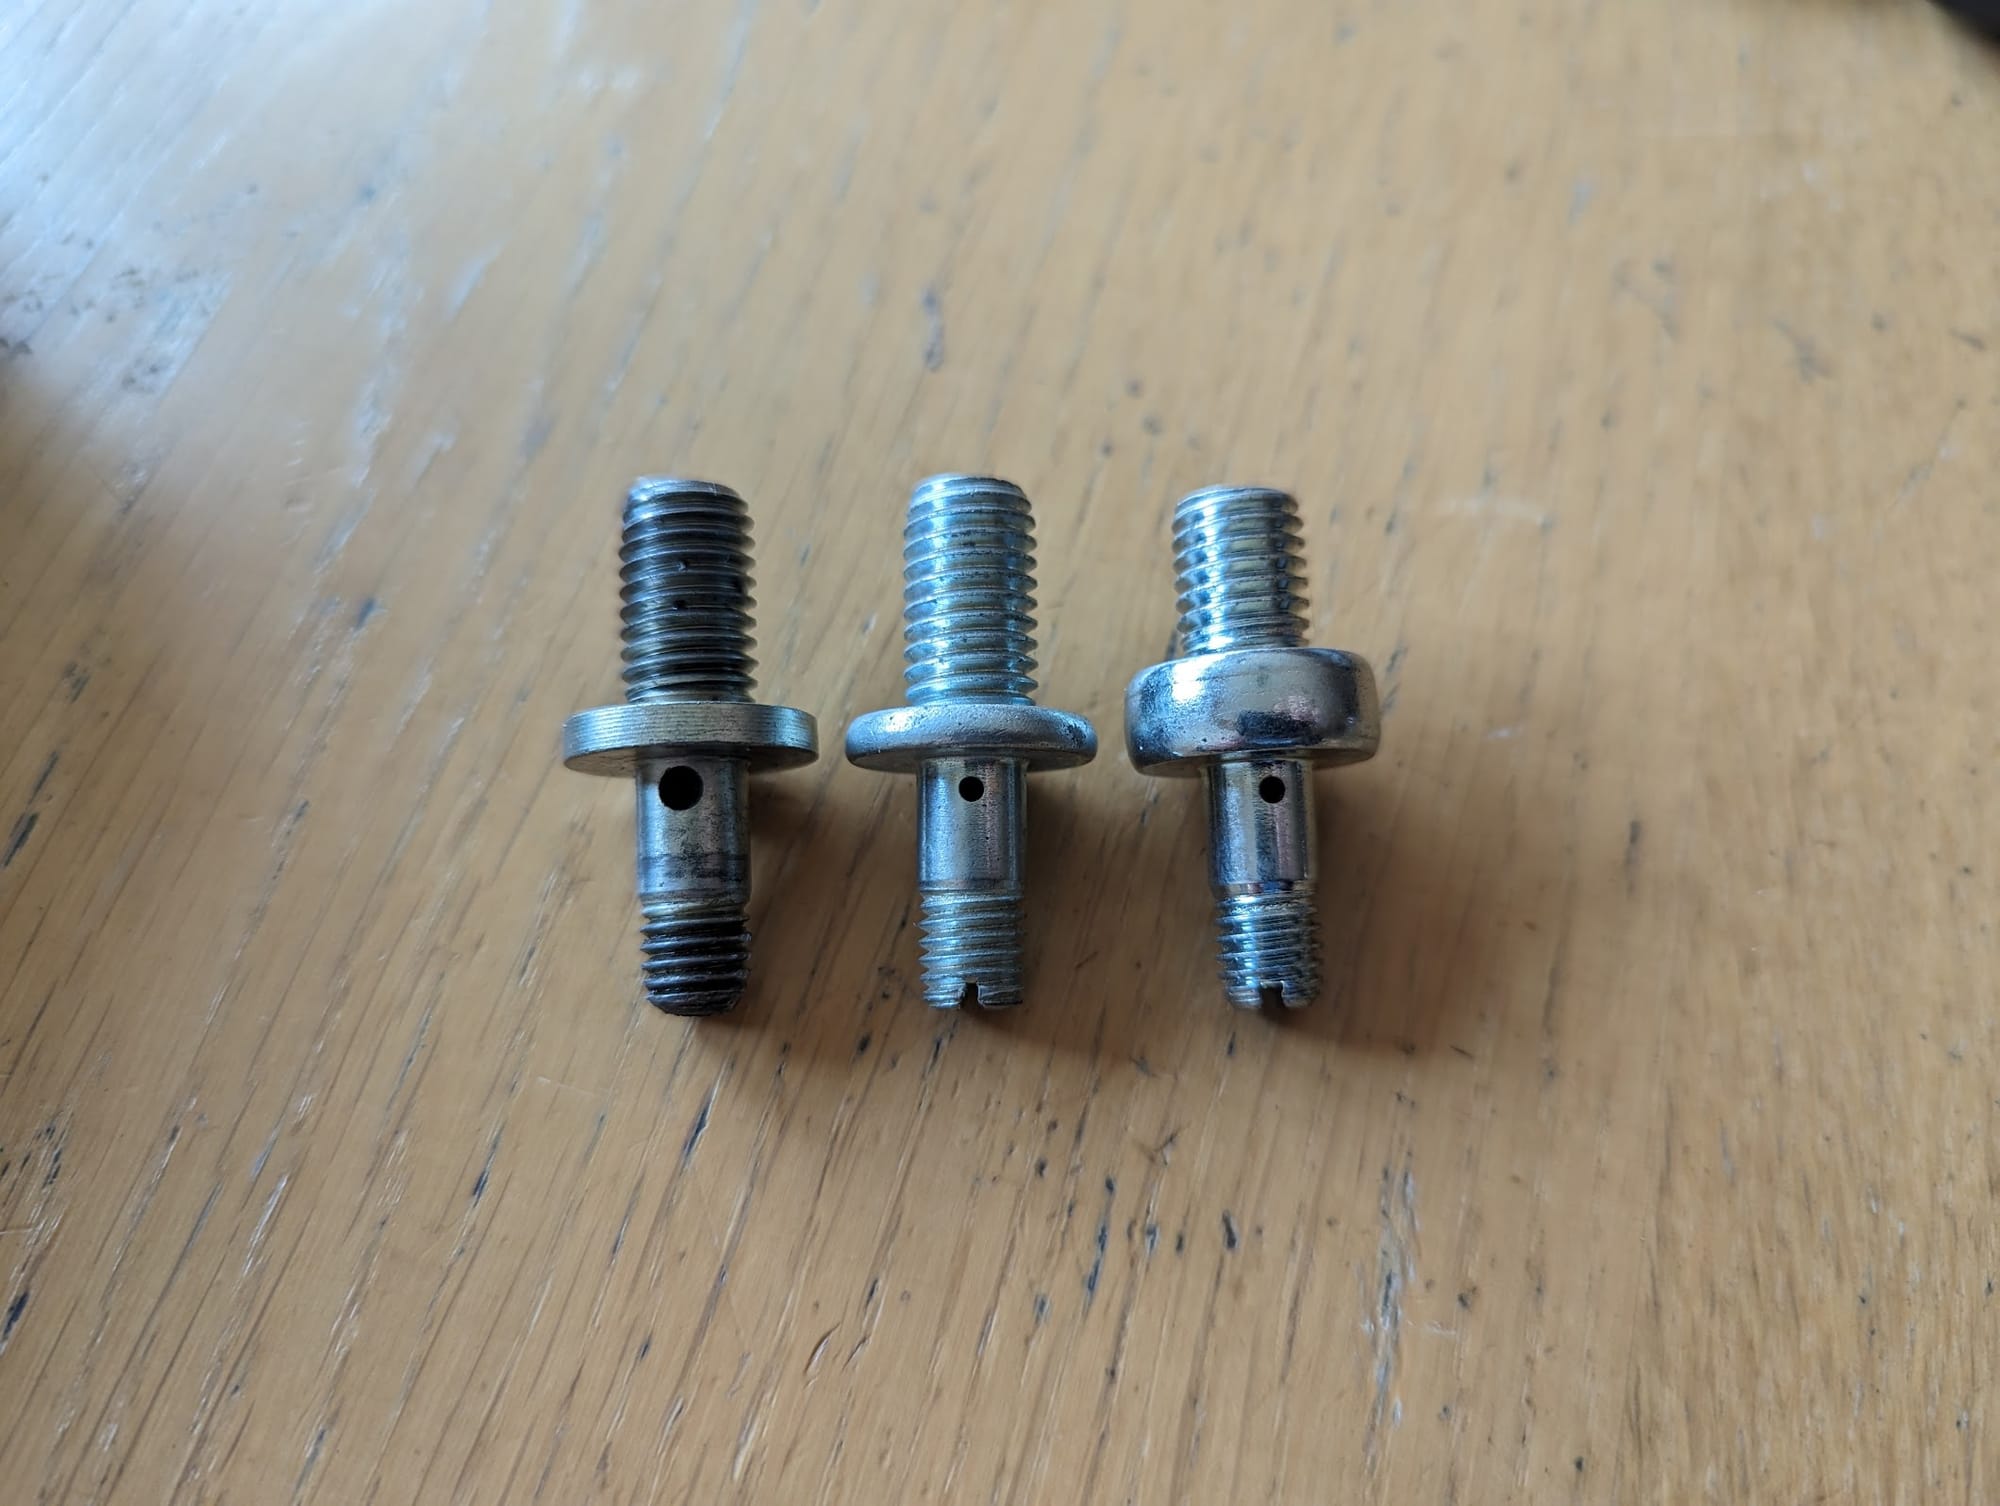
The reason for caring is that the hole in the bolt restricts the flow to the right hand case where the oil then goes on to supply the big-end bearing via the clutch.
The original part has a 3mm diameter hole but the replacement (above, right) that - according to CMS - is the superseding version has a ~1.8mm hole. The one fitted to my C90 is shown has a ~1.7mm hole. According to the parts manuals there have only been three versions 22846-046-000, 224846-046-010 224846-046-020 and they all have the smaller hole.
I don't know why Honda would have altered this part - the other place there is a restriction on oil flow is in the banjo bolt that feeds the galley to the cylinder head, but so far as I can tell this part was never changed on any of the 6v engines.
The obvious difference between the C90 6v engines and the CT is the addition of the sub transmission but why would this have required a less restrictive feed to the crank, and why would Honda have subsequently fitted a more restrictive part on all the later engines? All a bit of mystery.
the new version of the adjuster screw fits but the end of the screw is flush with the cam plate and I was worried that this might mean that the spring loaded through bit in the clutch might not make contact after adjusting the clutch, so I used the one from the C90. The difference in hole sizes remains a mystery.
cylinder and cylinder head
The engine had obviously been stood for a while and the cylinder head and cylinder were very corroded.
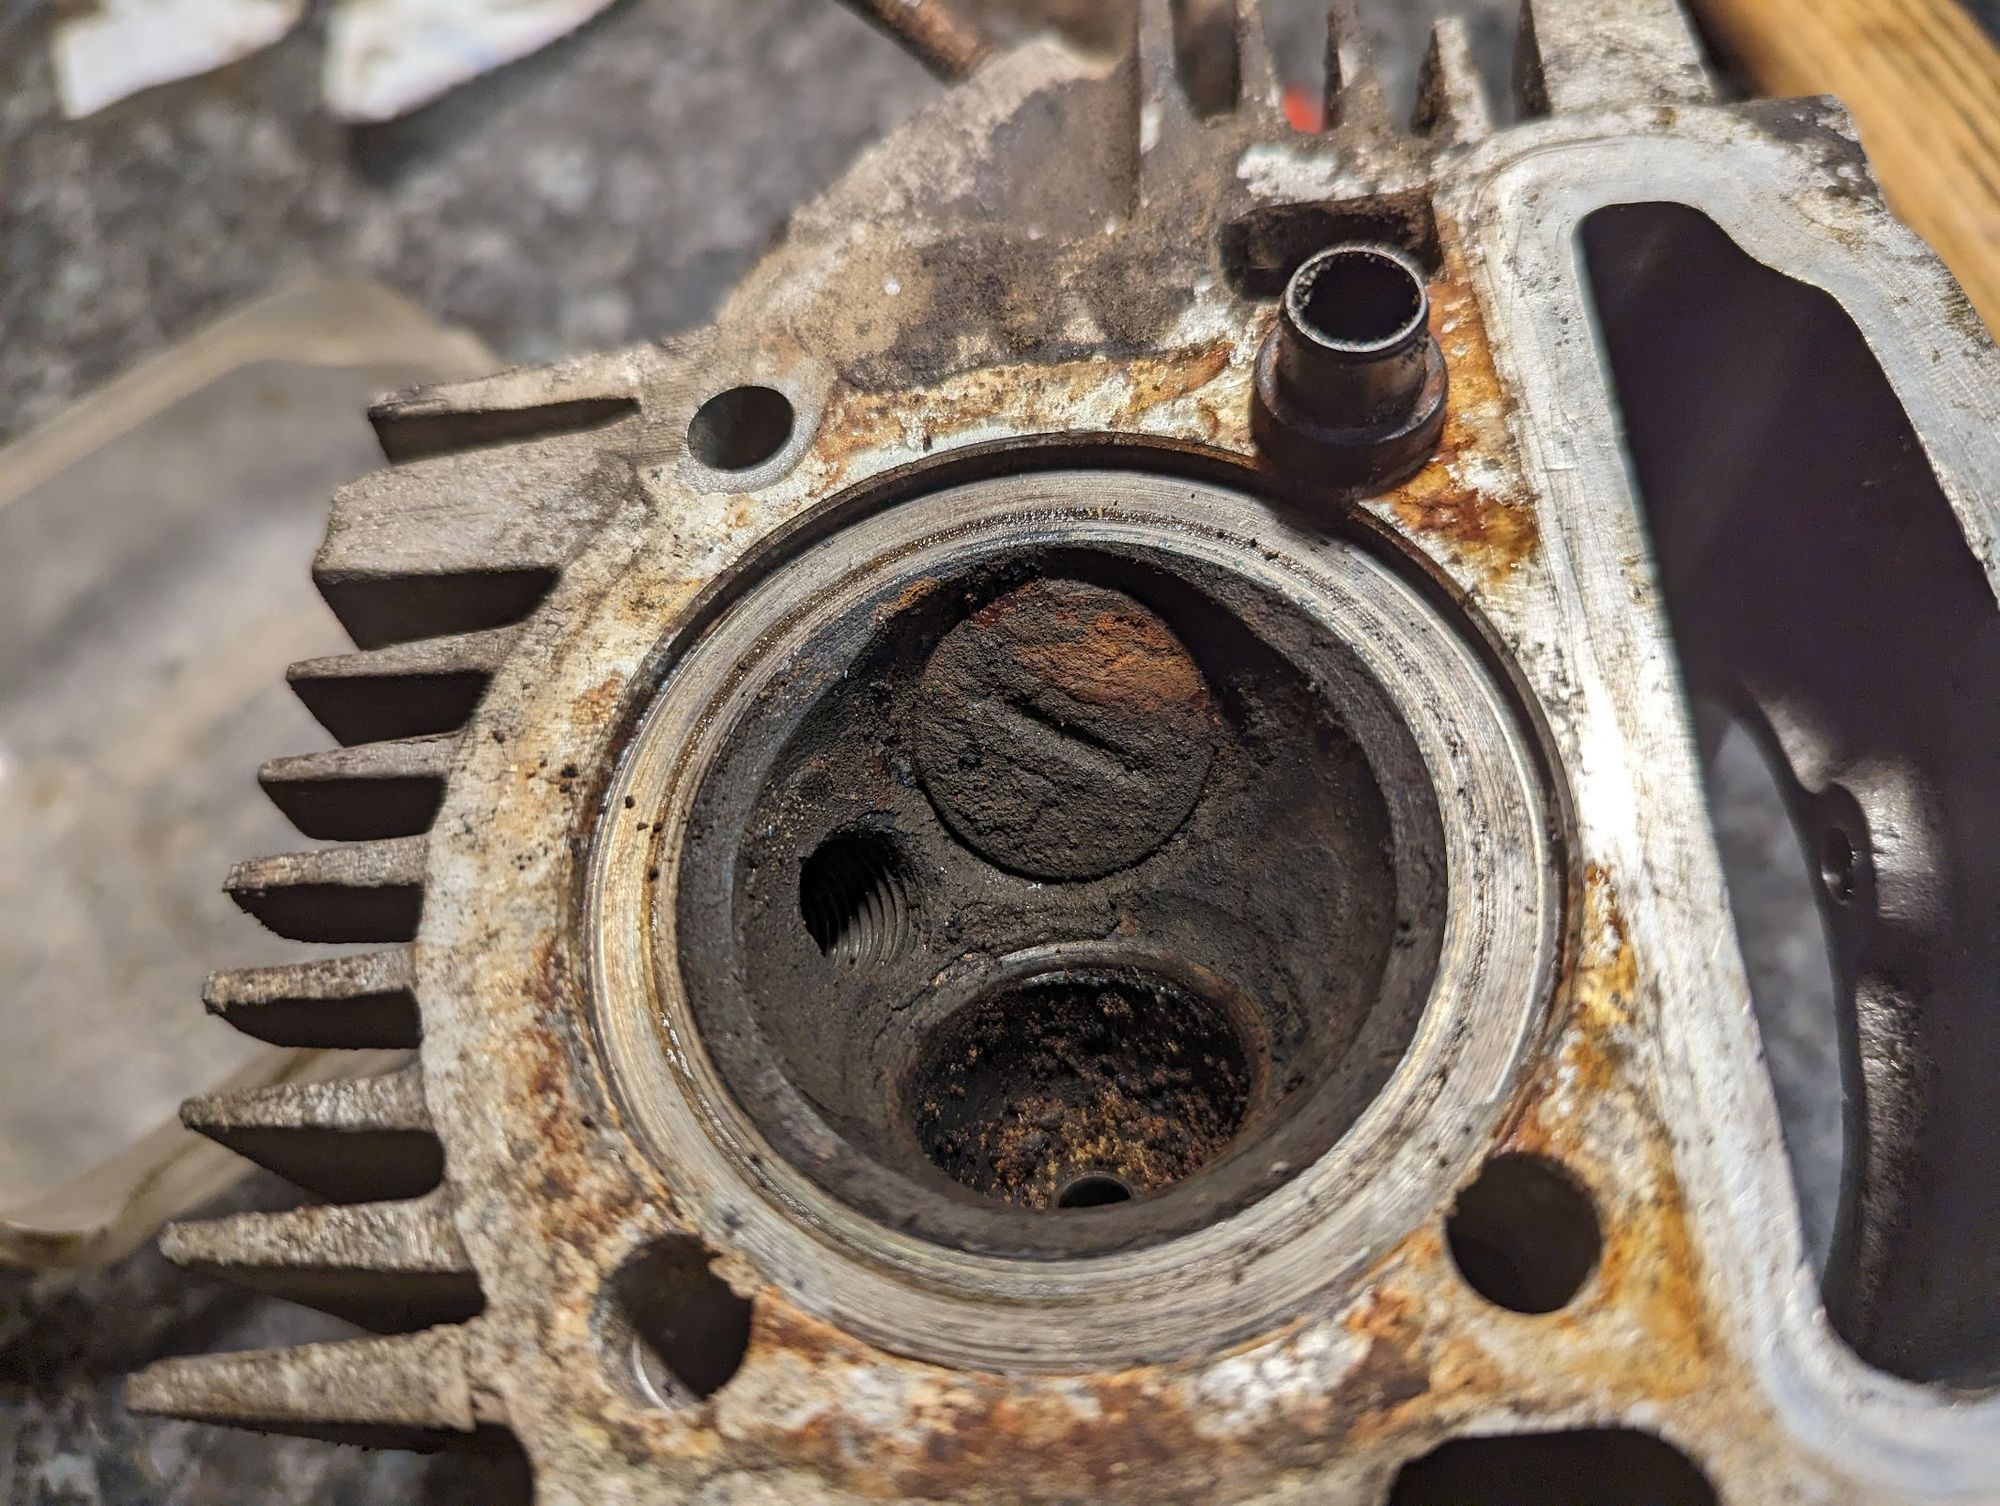
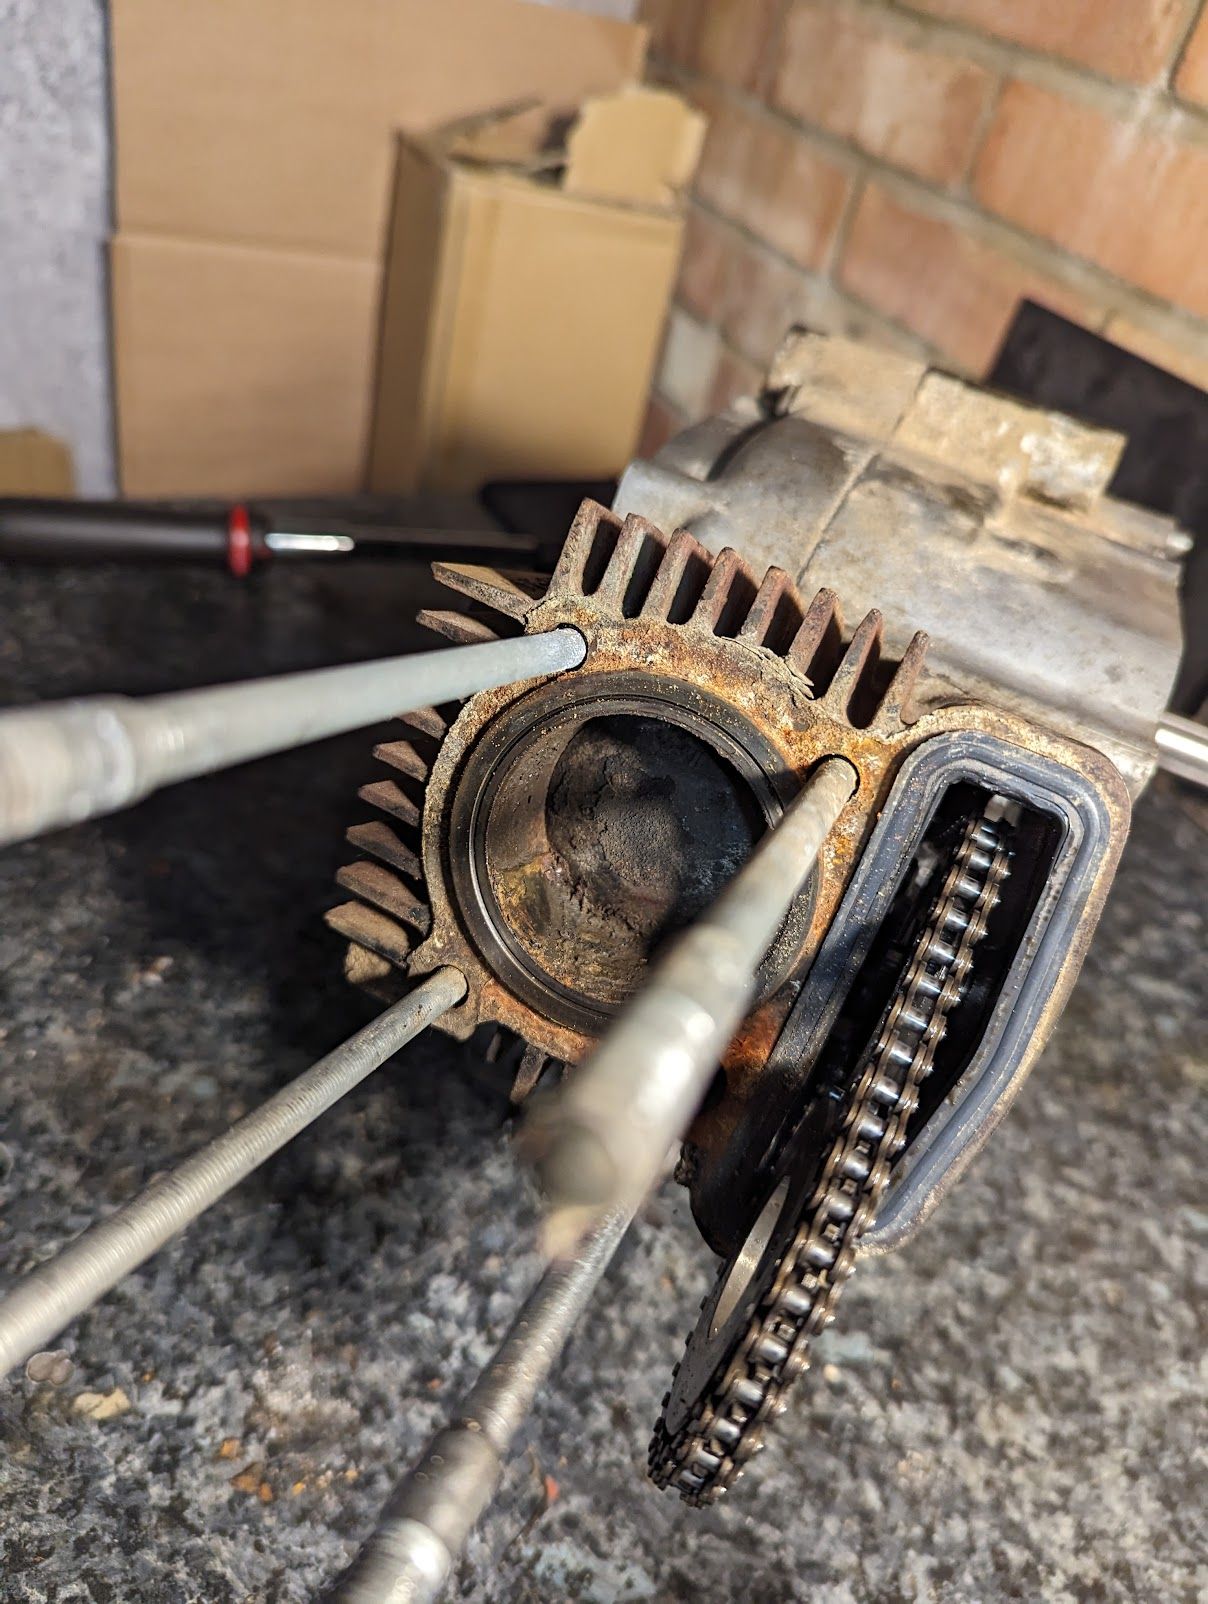

corroded cylinder head and cylinder, replacement cylinder on the right.
I got the cylinder rebored and the valve seats ground but did not use either of them in the end: I gambled the cylinder would clean up with a +0.5mm piston, but it still has signs of pitting - lesson learned! The machinist went as far as he dared when grinding the valve seats but could not remove the pitting, so sadly that was scrap.
Opinions vary on whether to hone a used cylinder when fitting new rings and the manuals don't say either way. Arguments against are a) that most of us (including me) don't have the right tools and b) you are removing material and hastening the point the cylinder will be out of spec. Arguments for honing are that it helps the new rings bed in. I am in the latter camp and used my cheapo brake hone to create a light hatch pattern on the cylinder.
There is also some controversy about whether to apply oil to the inside of the cylinder when fitting new rings, but Honda recommend doing so in the manual so that's what I do too.
Honda made a couple of other changes of note:
the older style head has a smaller intake than later models, presumably matched to the older 4 screw carbs.
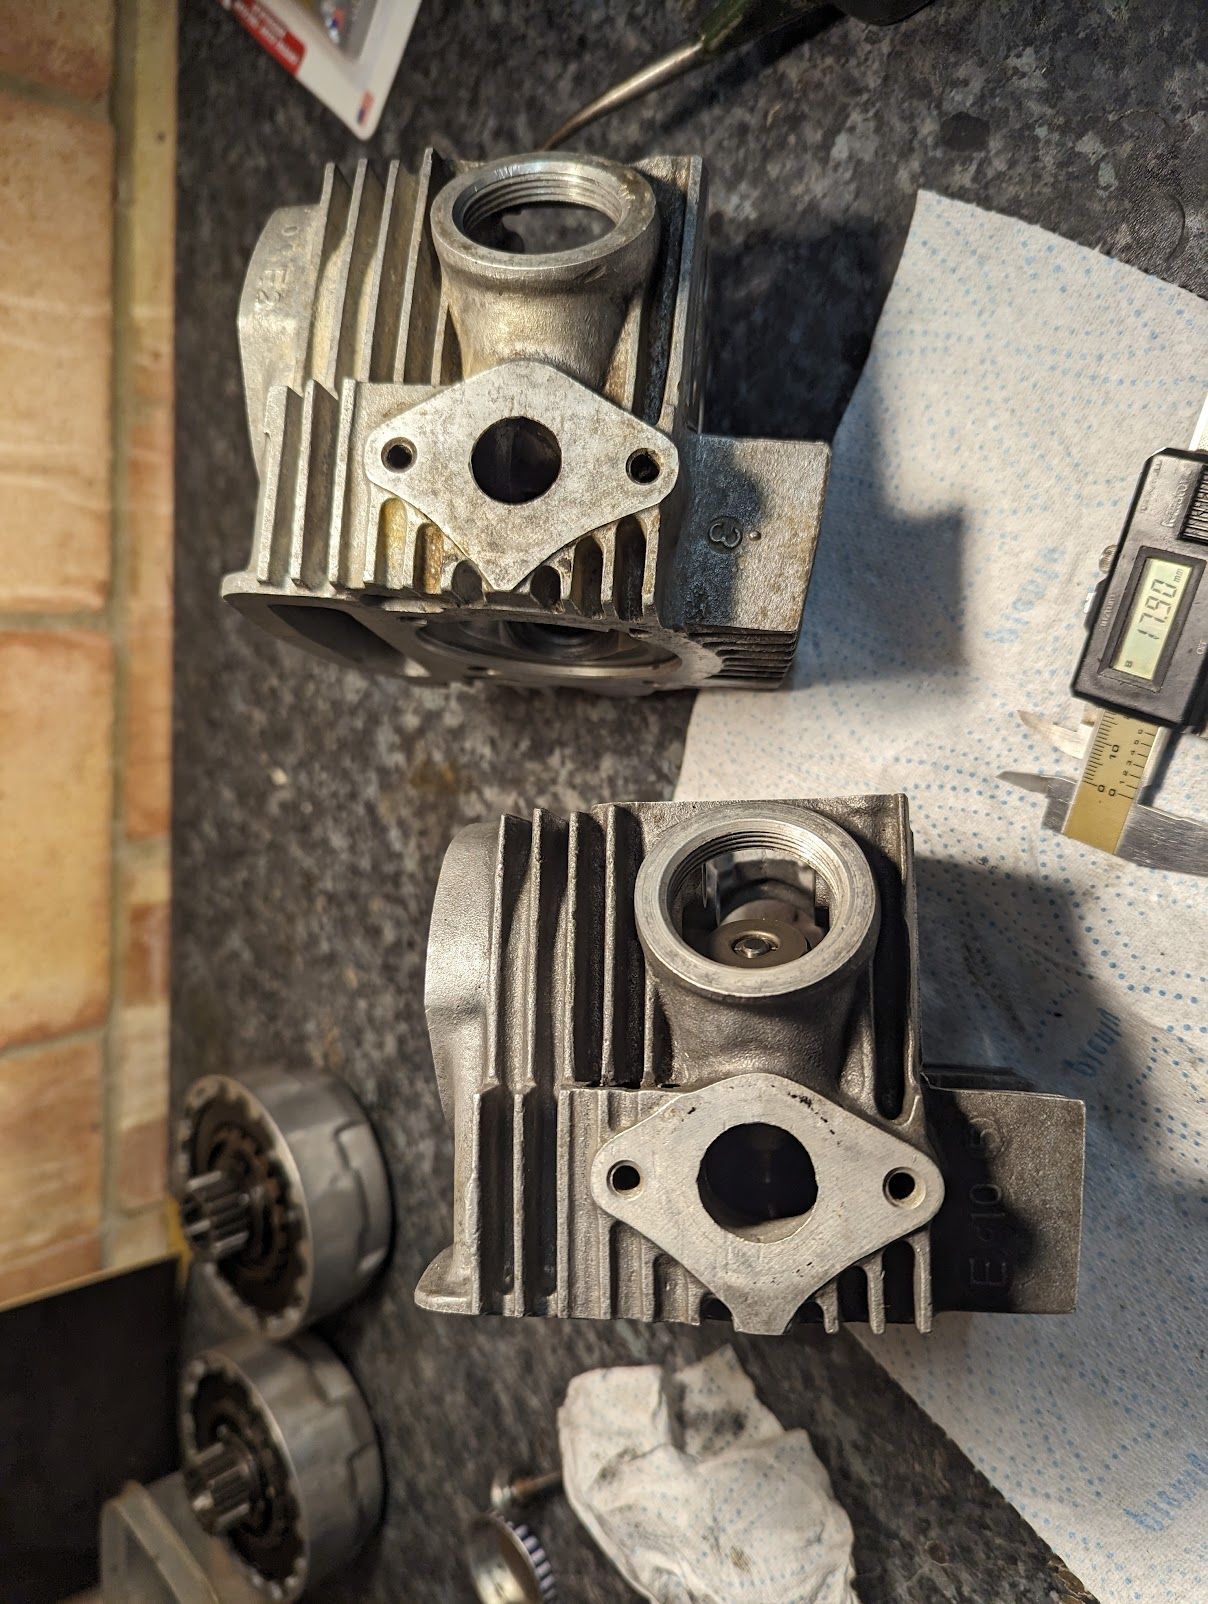
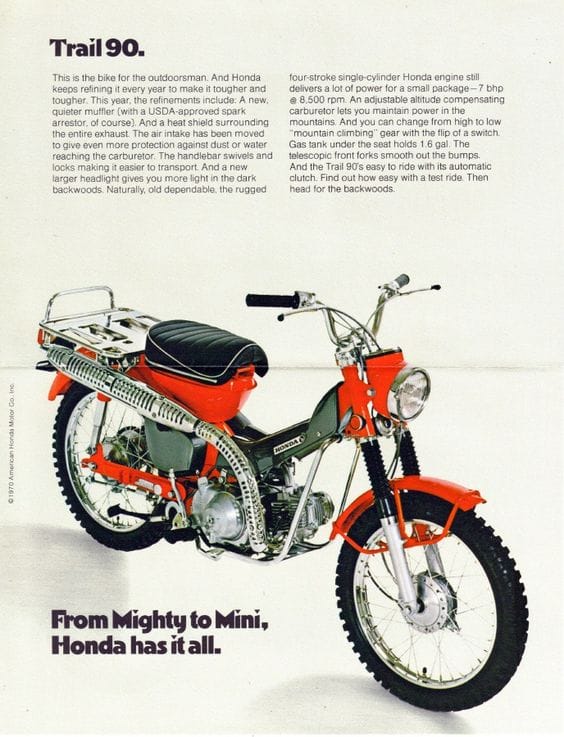
You can read more about the various carburettor models fitted to the ct90s below
Also note that the at some point in the 1970s the older iron skulled cylinder heads were replaced by alloy versions. The newer aluminium head is not compatible with the old cylinders and vice-versa.

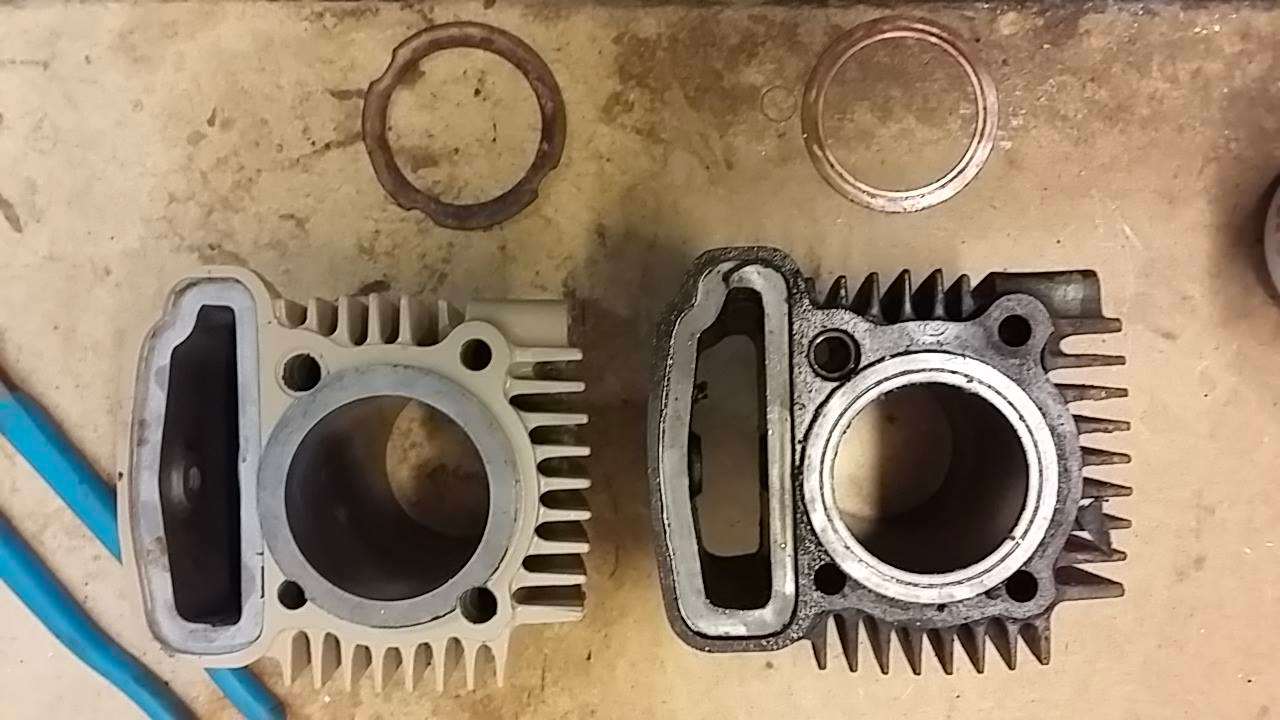
left: CT90 aluminium head next to an earlier "iron skulled" version / right: Honda redesigned the cylinder at the same time as introducing the all-aluminium head and the thicker cylinder walls of the new version (shown on the left of the picture) necessitated a new copper cylinder head gasket with notches to avoid the cylinder head studs.
Kickstart and crankcases
the older engines came with the old style ratchet kick start.
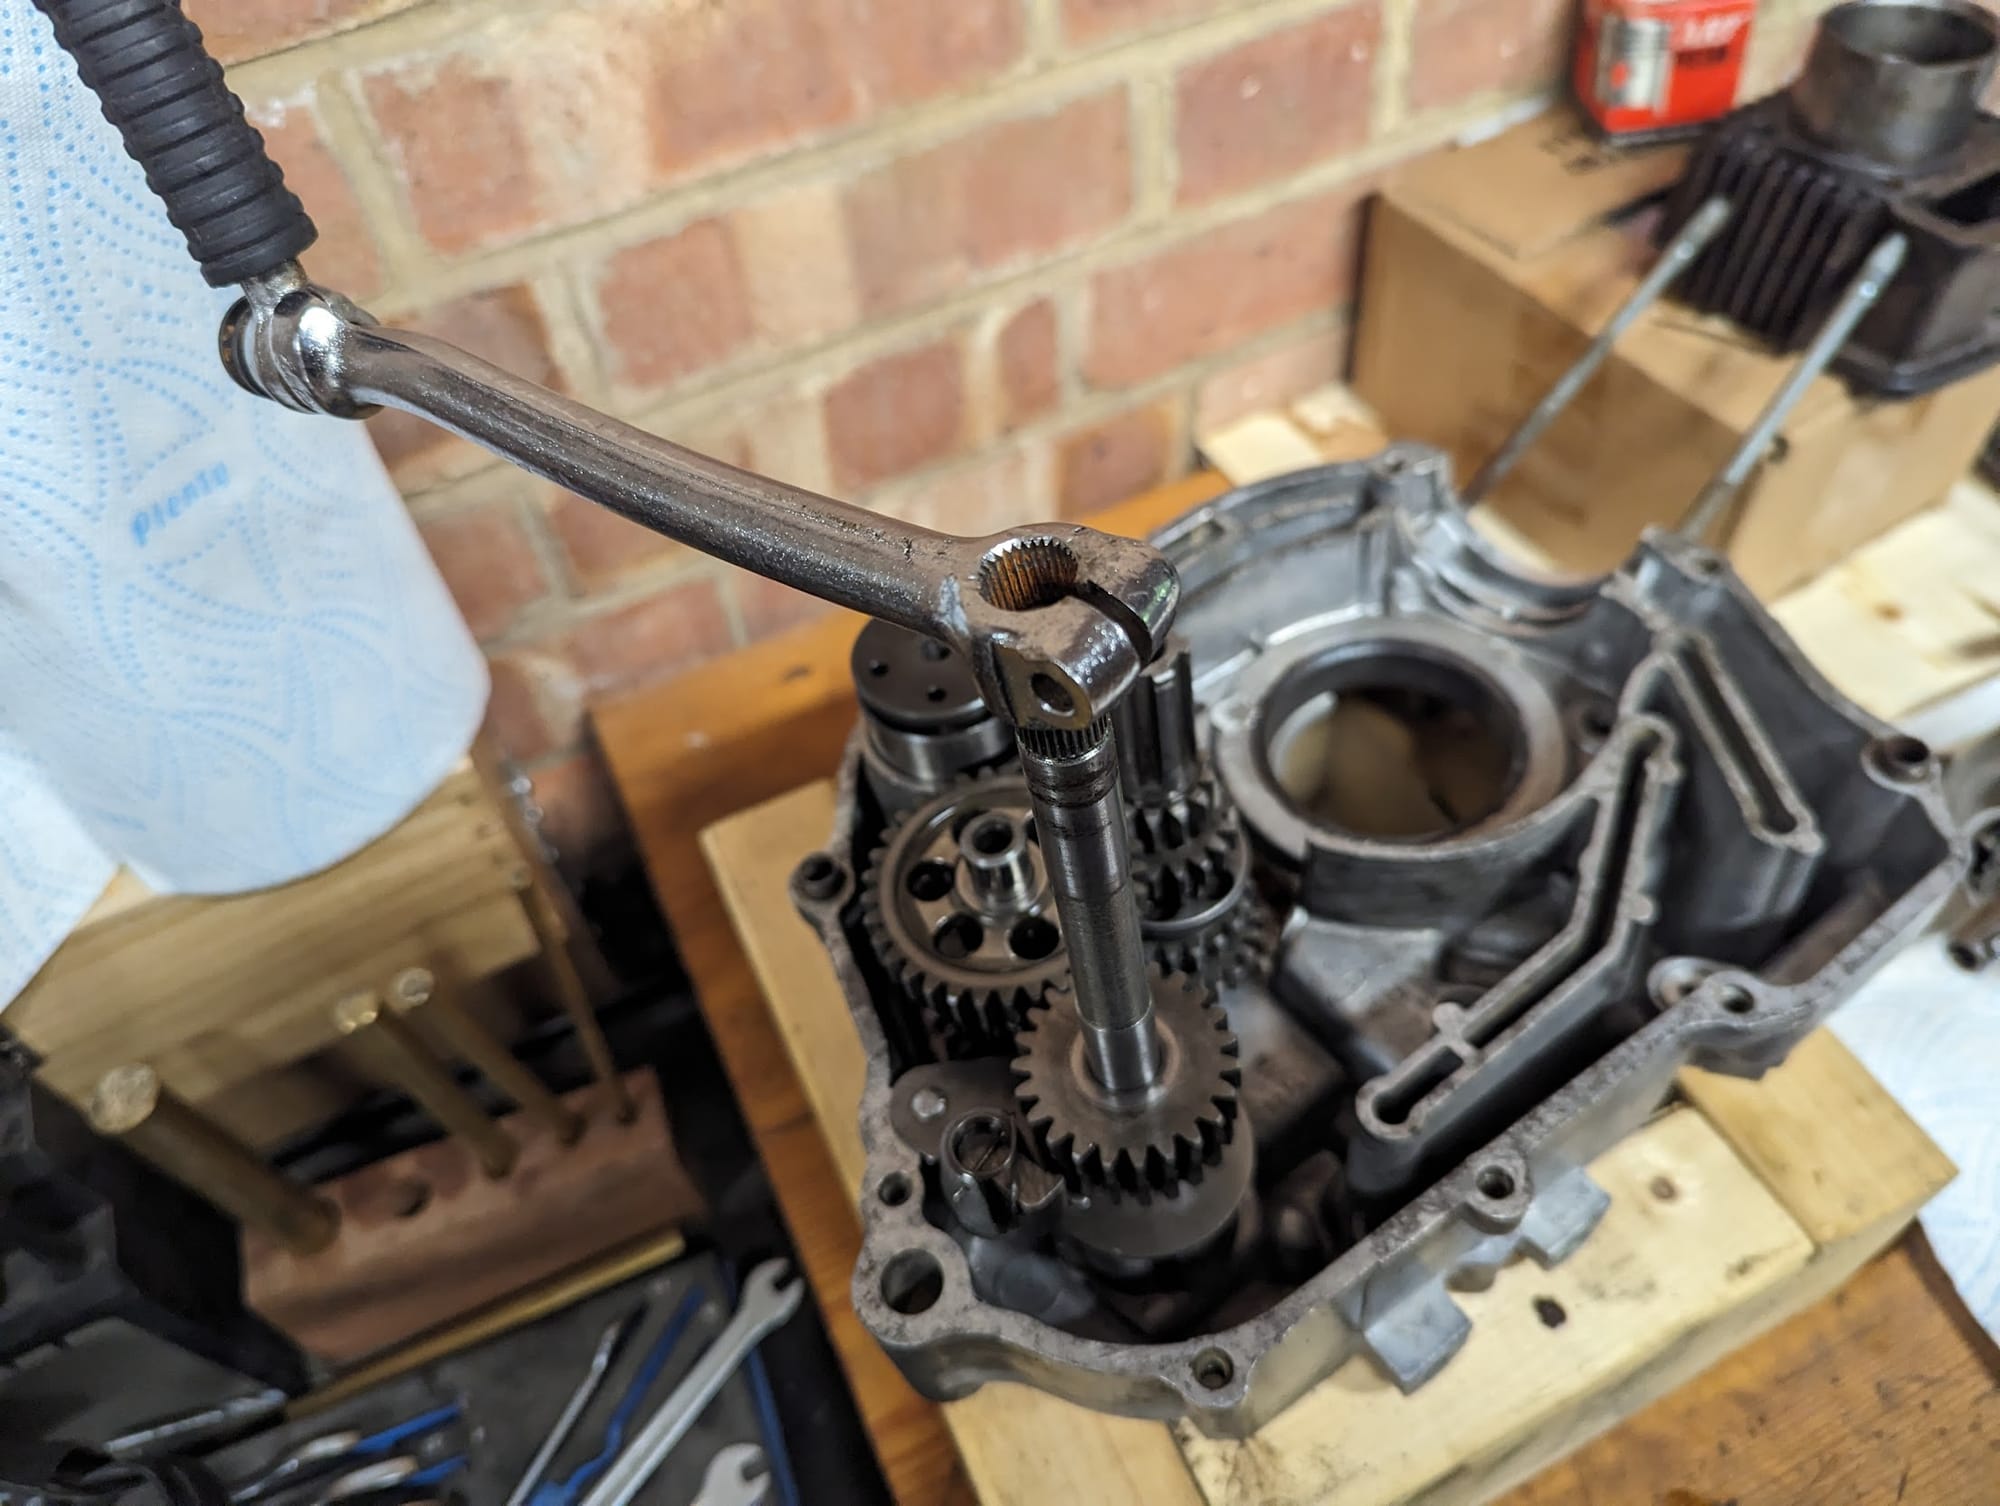
The kick start was changed in the late 1960s to fix a design issue where the ratchet could over-rotate and cause serious engine damage and this nesseciated a change to the right hand crank case. You can read more about the changes below
Posi-torque lever
A very small change, but the original lever for swapping between the high and low ratios in the Posi-torque transmission was a flimsy pressed metal affair attached to a hex head. Mine was mangled so I treated myself to the new version which - much to my surprise - is still available.
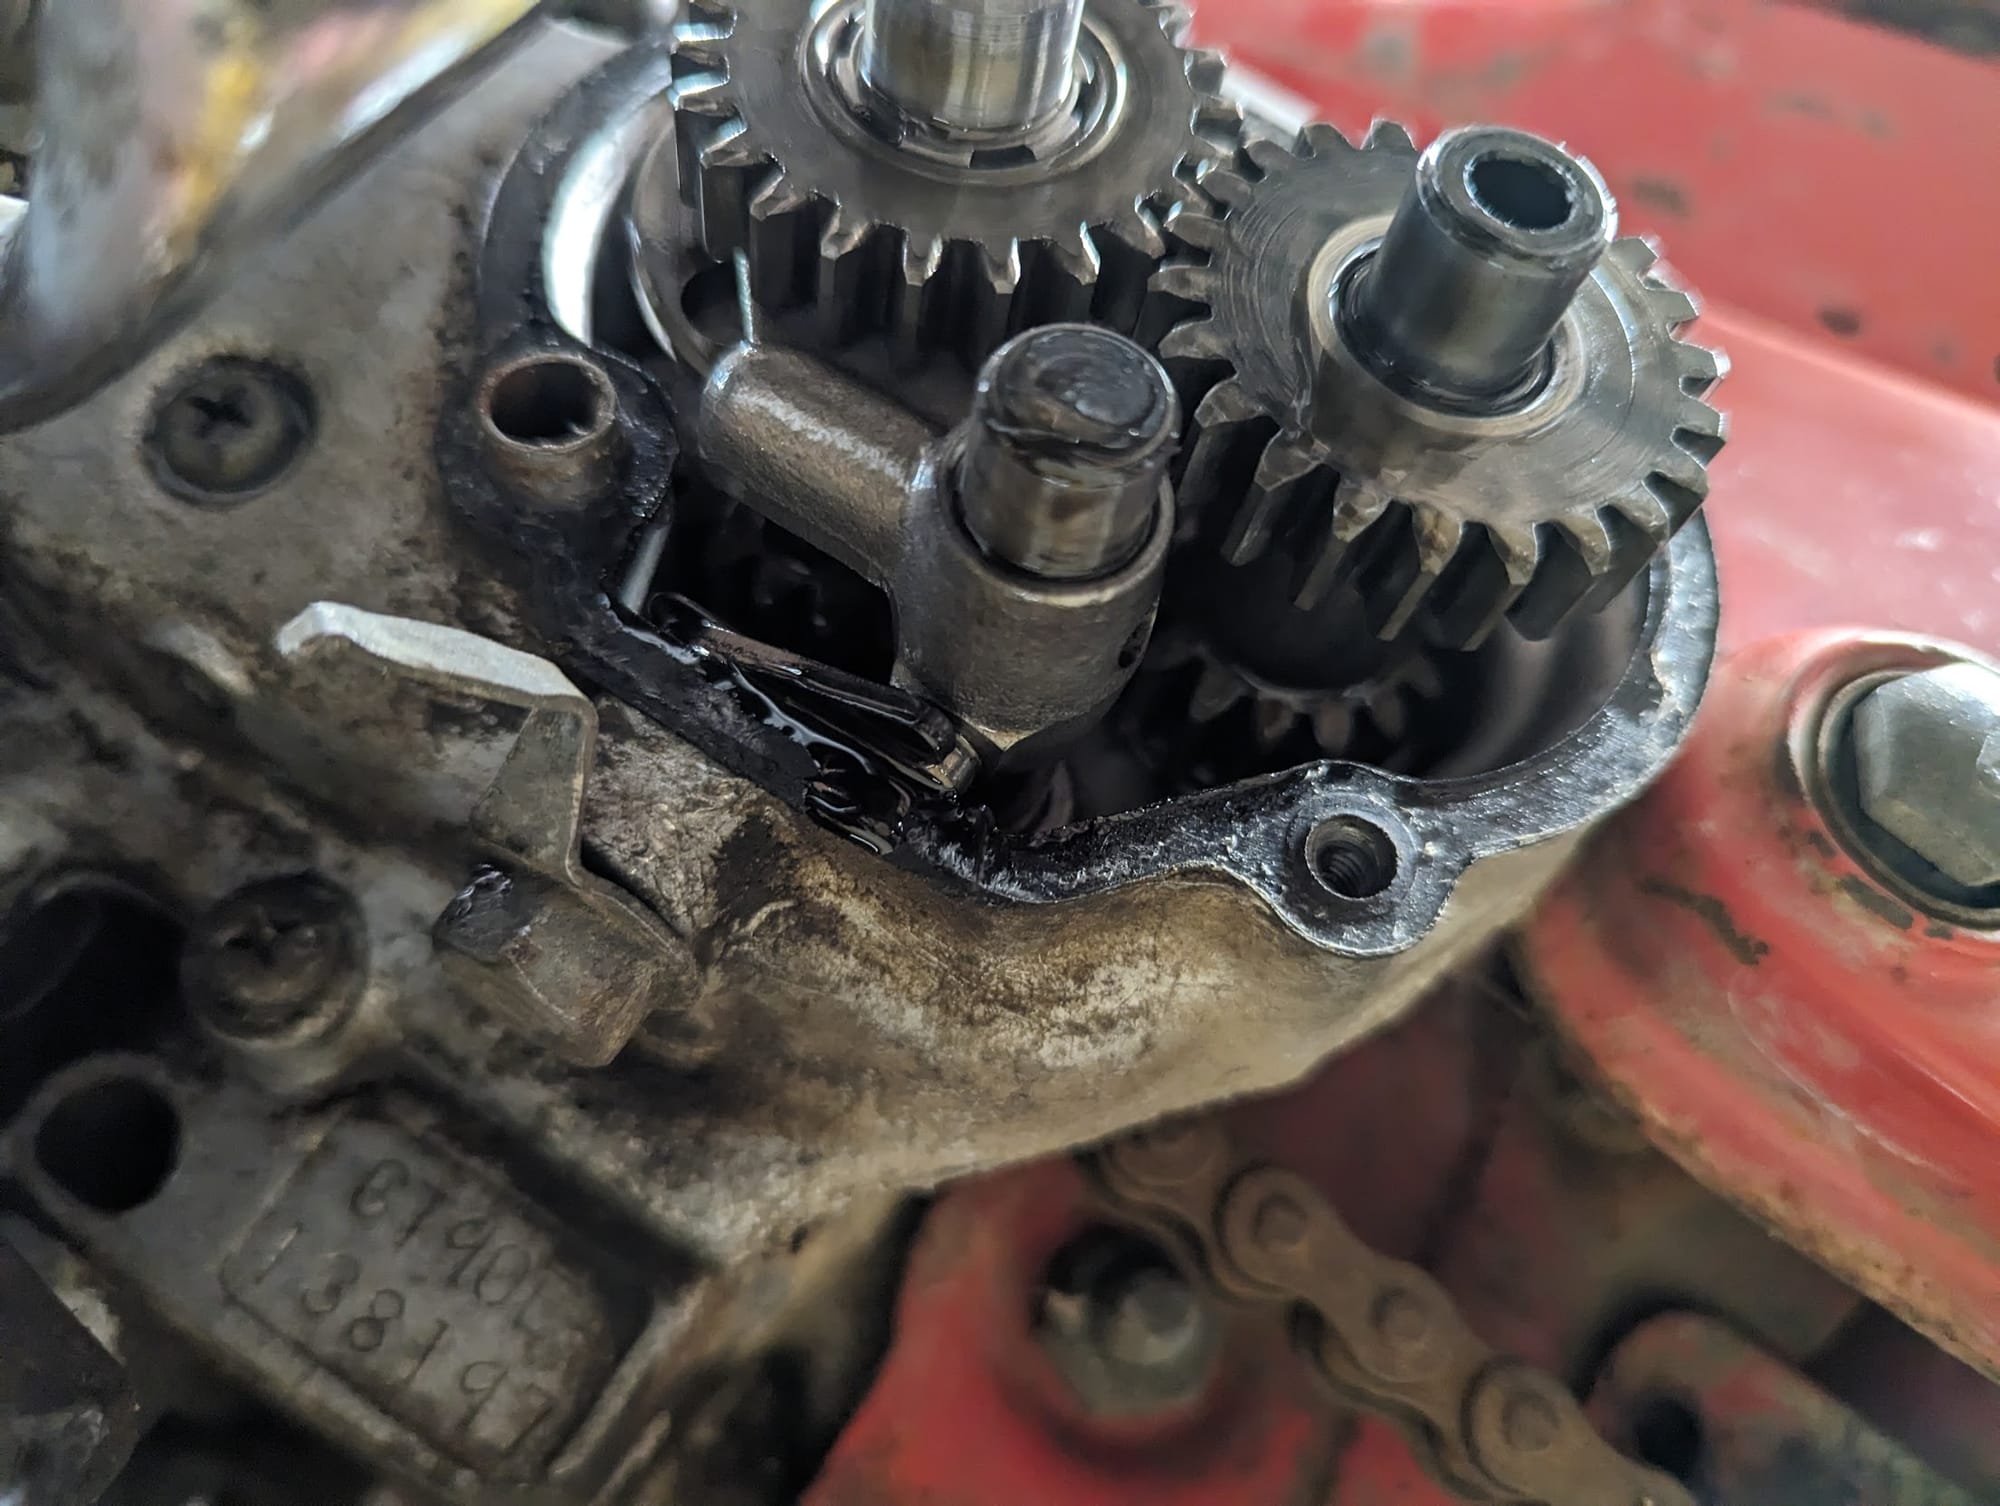
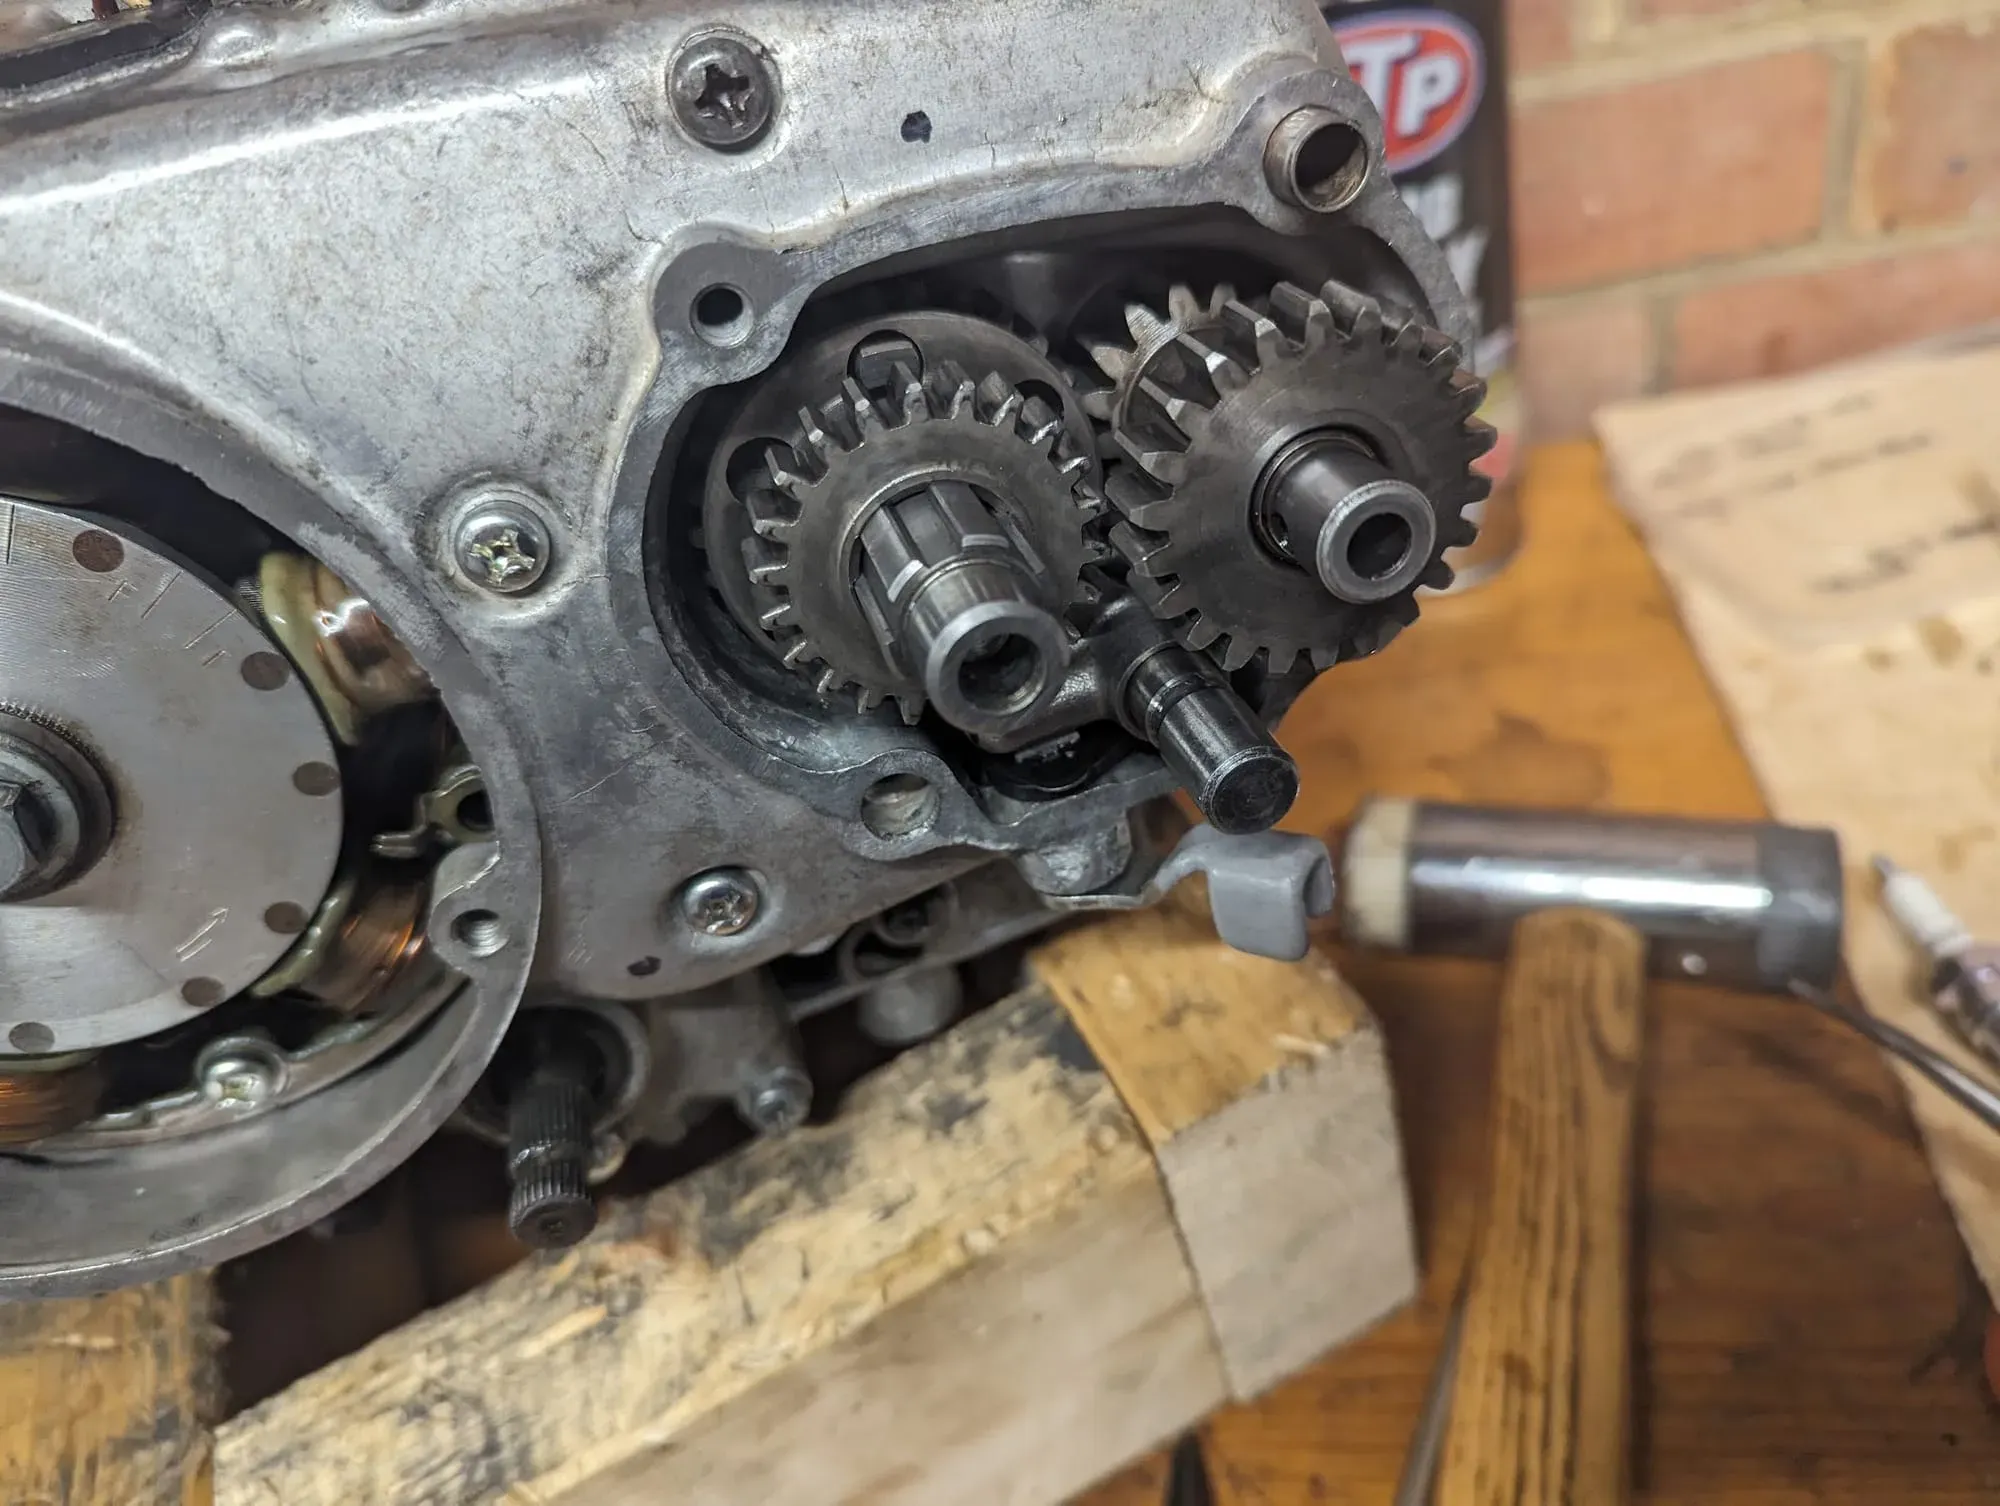
original lever / new posh version
drum stopper arm
The final engine change I noticed was the drum stopper arm - mine was cracked but I managed to get a set with a new drum stopper plate for the princely sum of £1.73 (David Silvers).
The stopper arm is a bit of an oddity and is a different design than the later versions. I had thought the later versions would swap in, but as you can see below they are a bit shorter. It will still go though the gears on the bench but I suspect would be problematic if used for real - possibly it would work with a matched stopper plate from a later engine to go with the drum stopper arm.
The early version is below. Not sure why Honda included the extra "leg" that extends towards the engine case, perhaps to stop the drum from over rotating (although in practice it does not seem possible for the drum to move the arm far enough so it would contact the case). Perhaps that's why the changed to the simpler version on later engines.
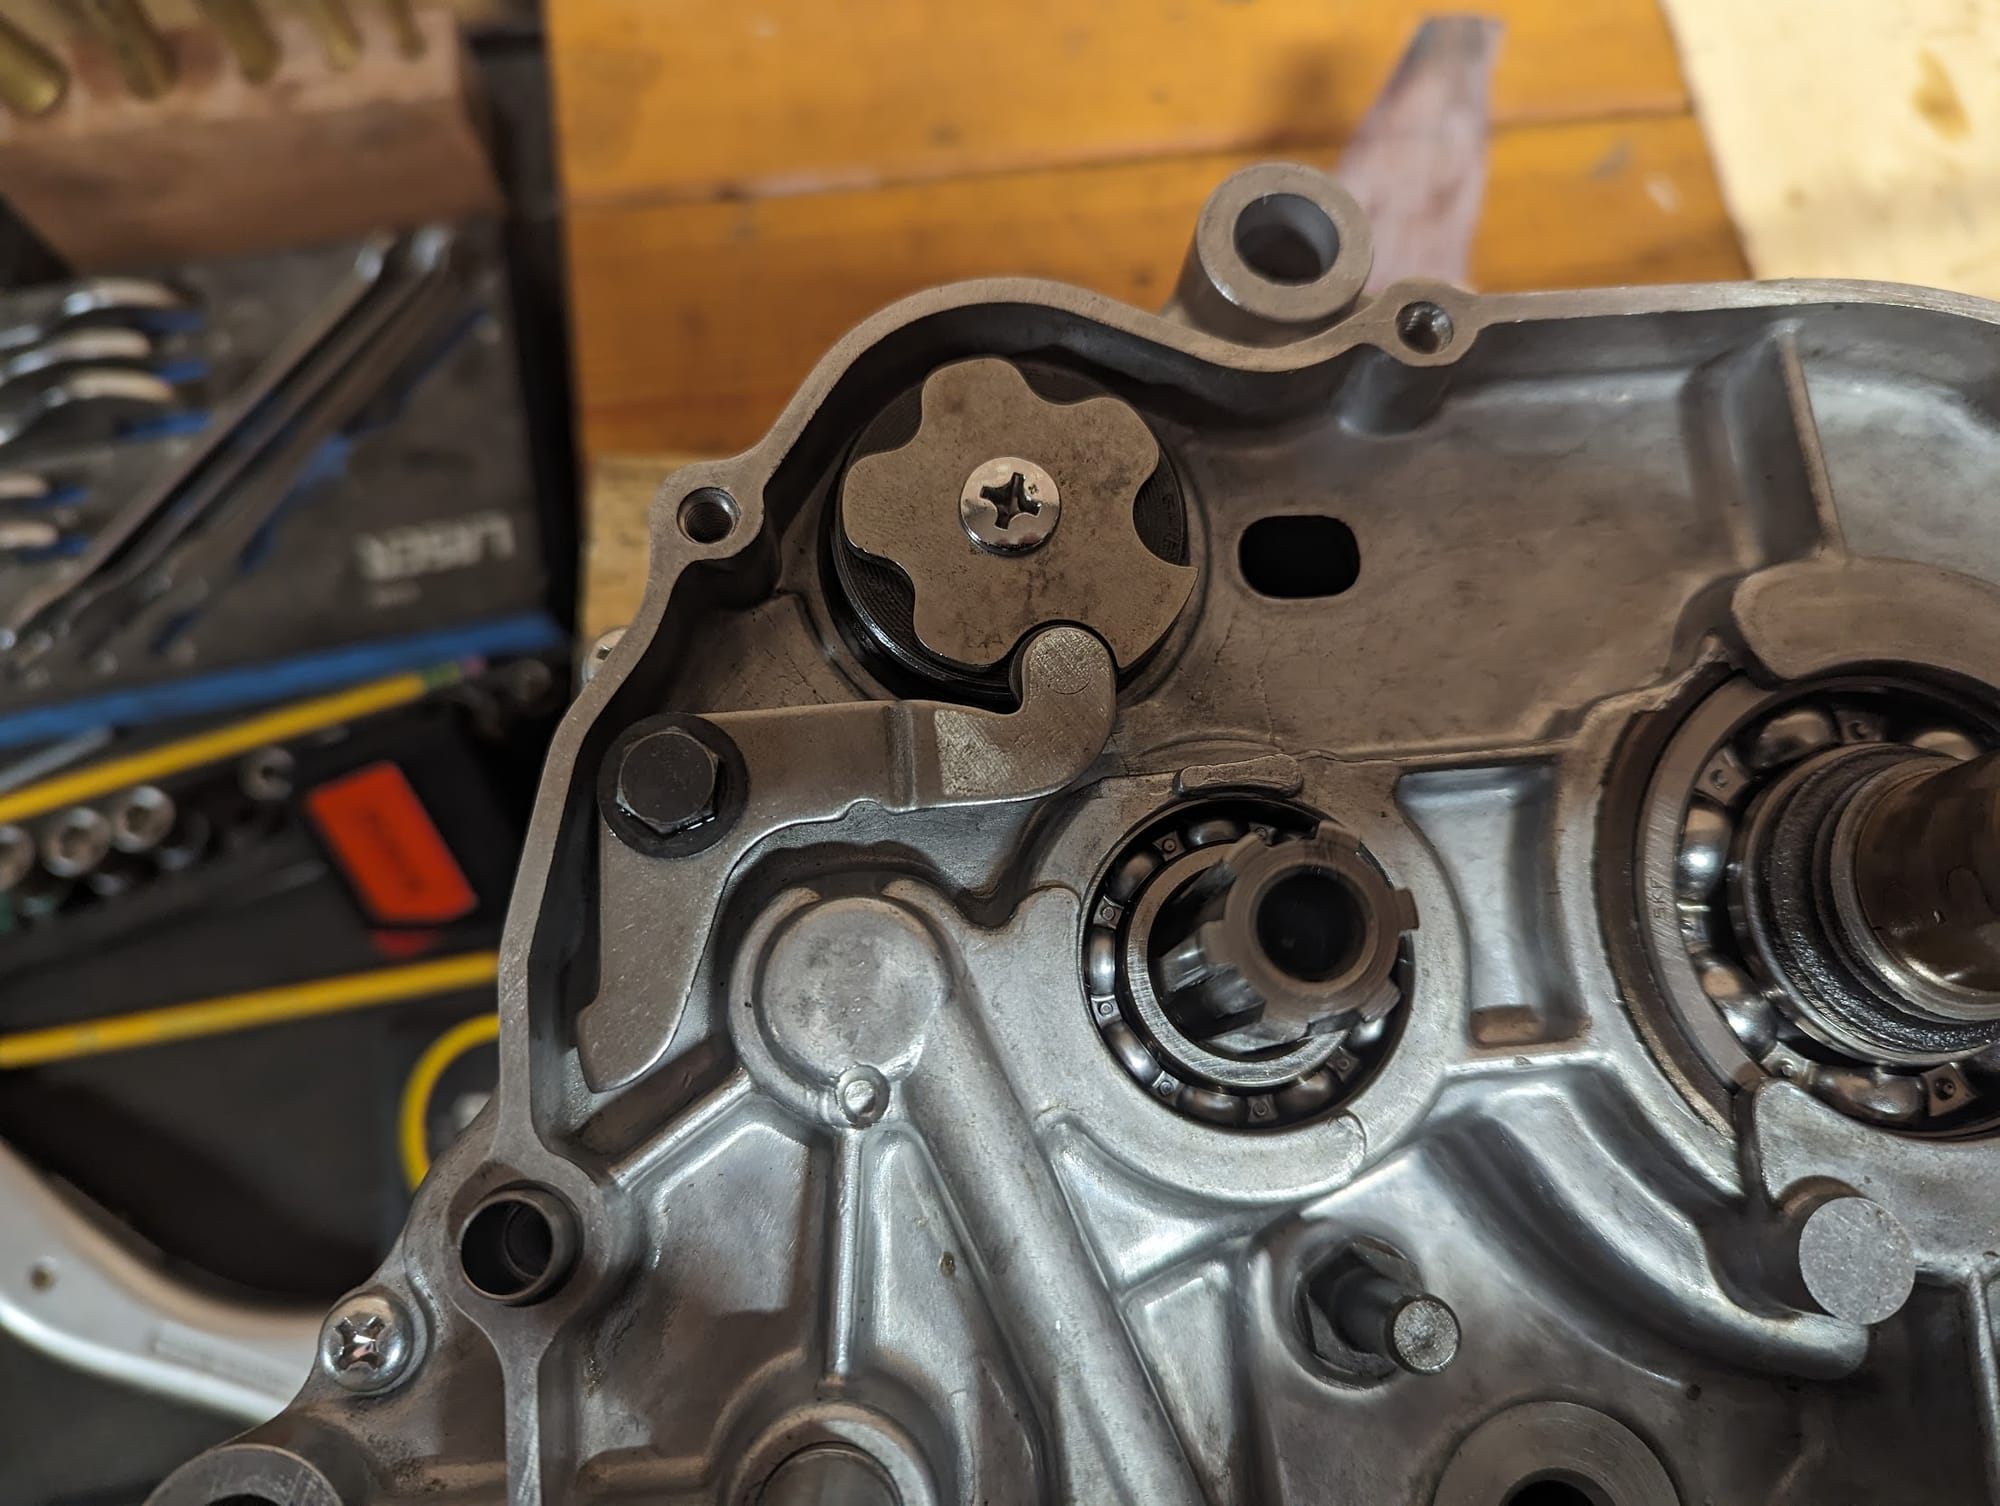
old design (left) / new design (right)
that's it!

